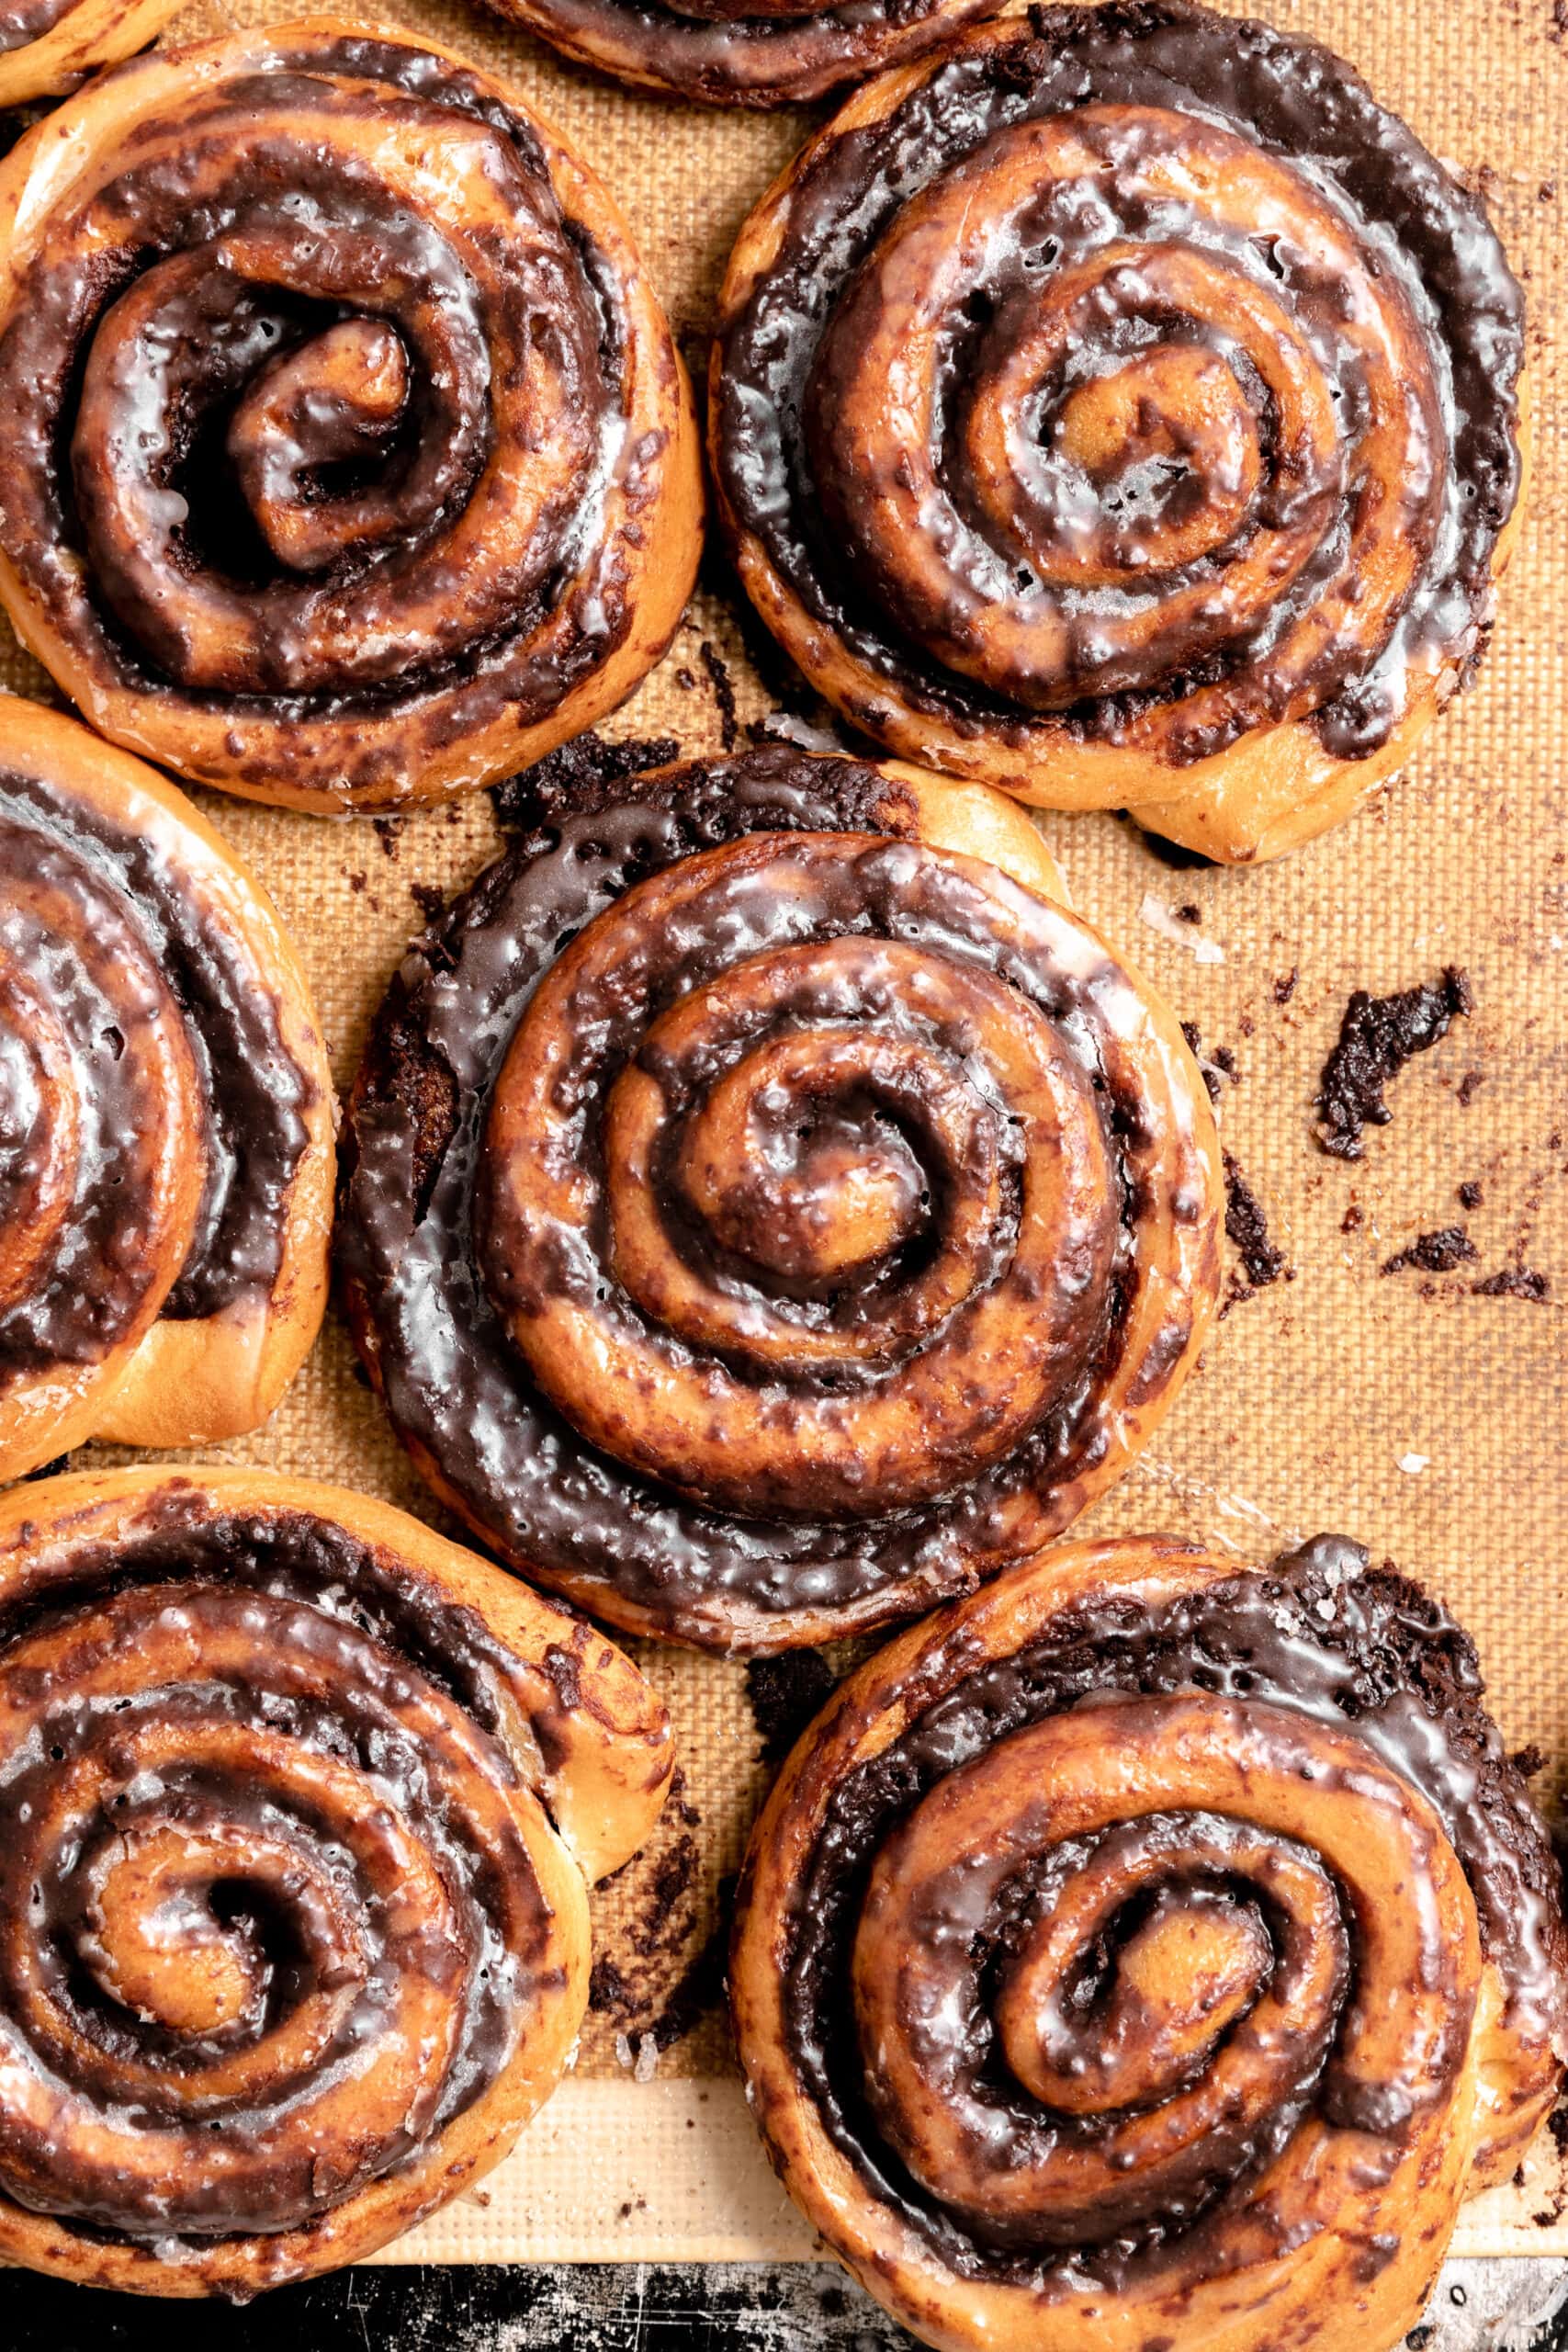
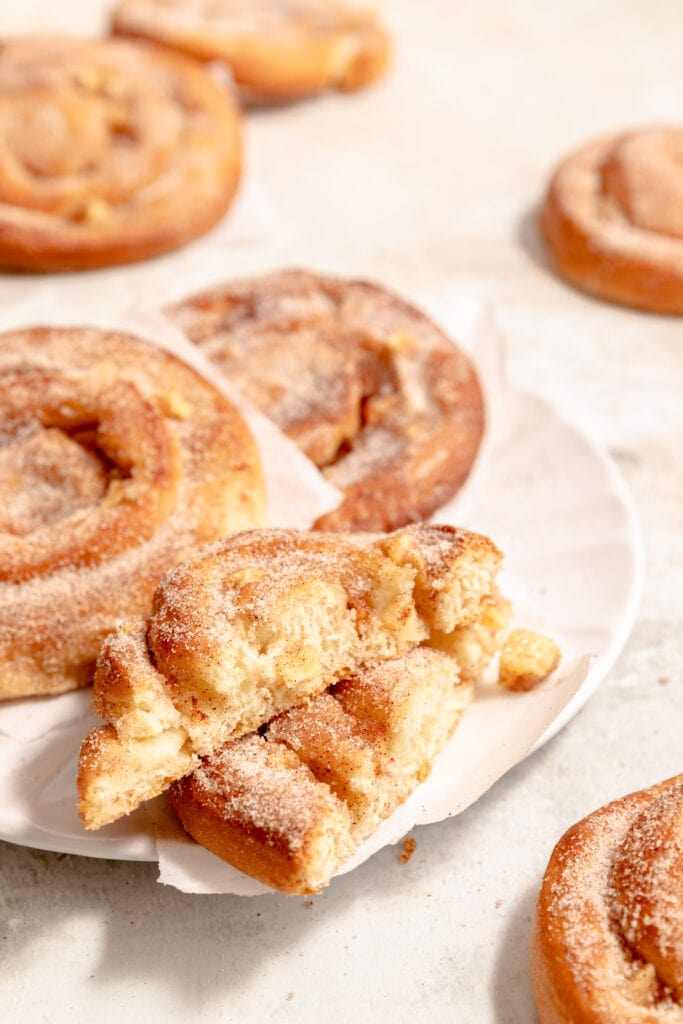
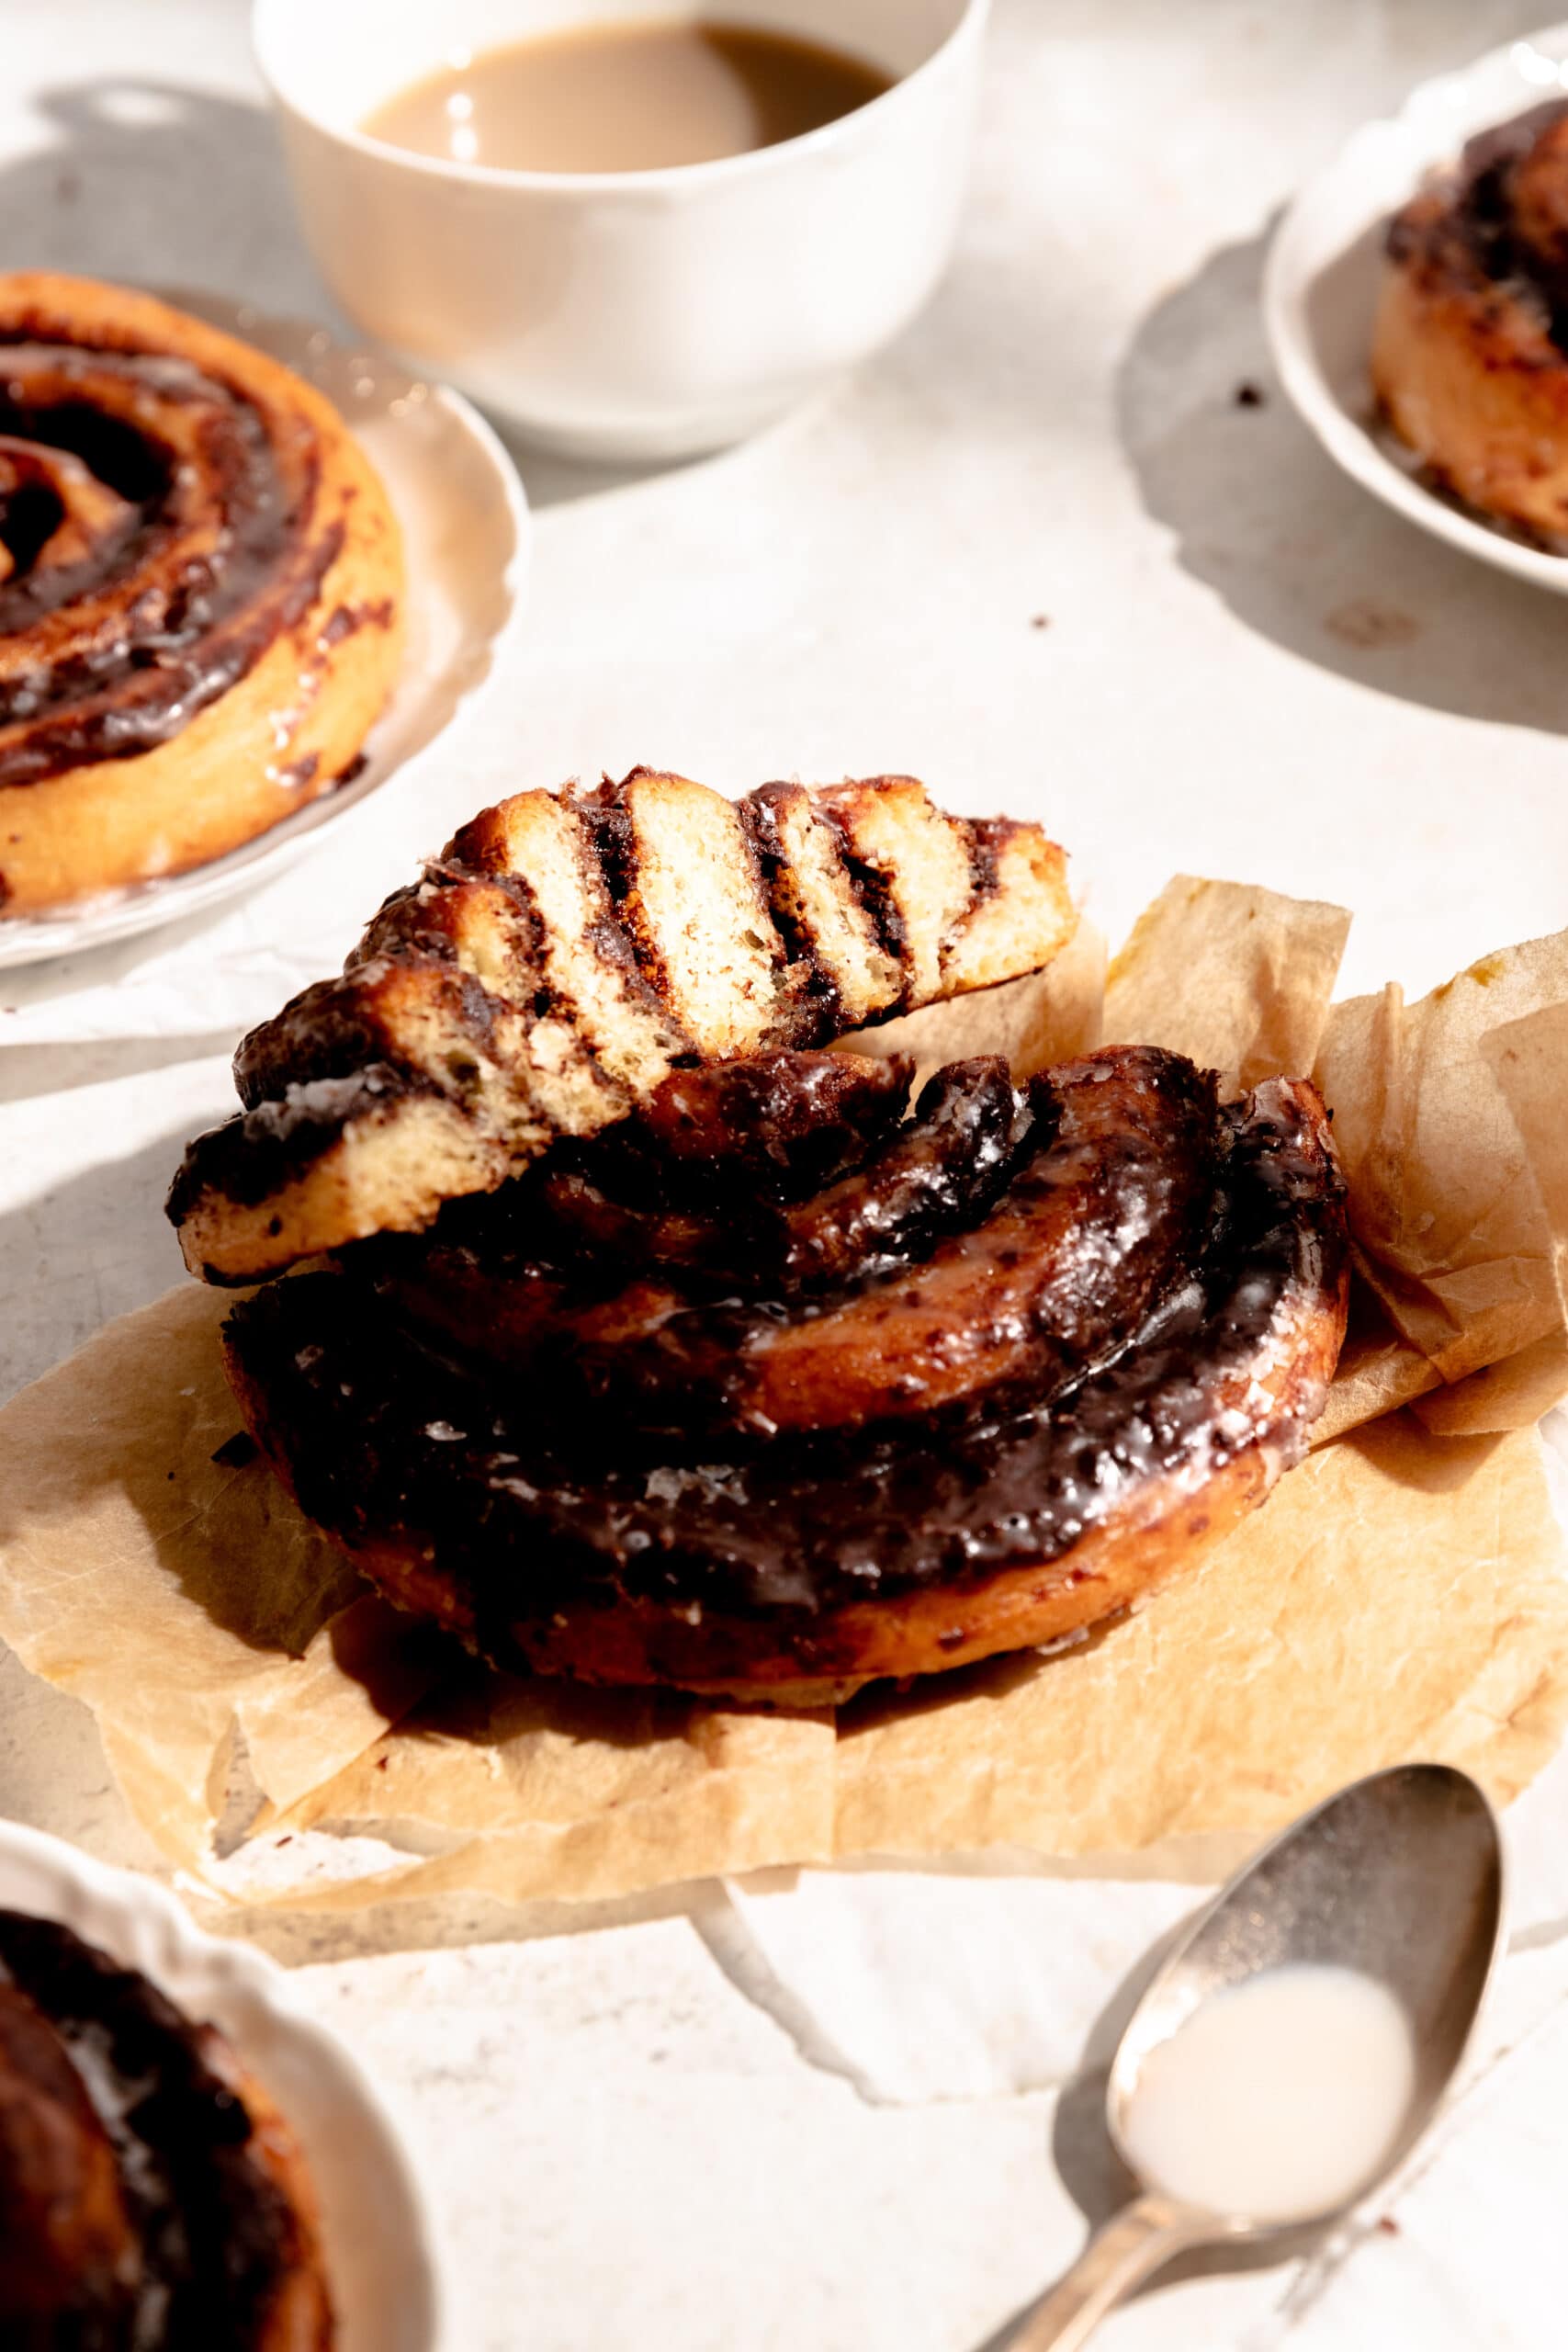
Schoko Schnecken or Chocolate Pinwheels, are a fun twist on the classic German Pastry. Rather than being filled with nuts or poppyseeds, these are filled with a rich and delicious chocolate spread.
Which chocolate should I use?
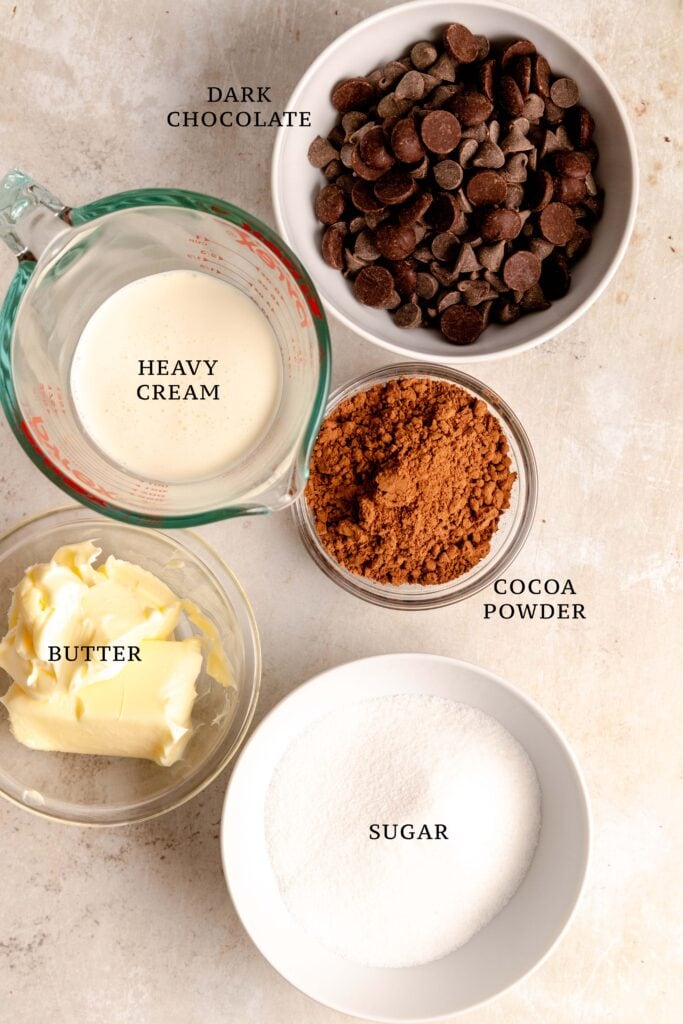
I don’t like these to be too sweet so I prefer to use dark or extra dark chocolate. I find that semi-sweet is a little too sweet, but unsweetened can create a bitter taste.
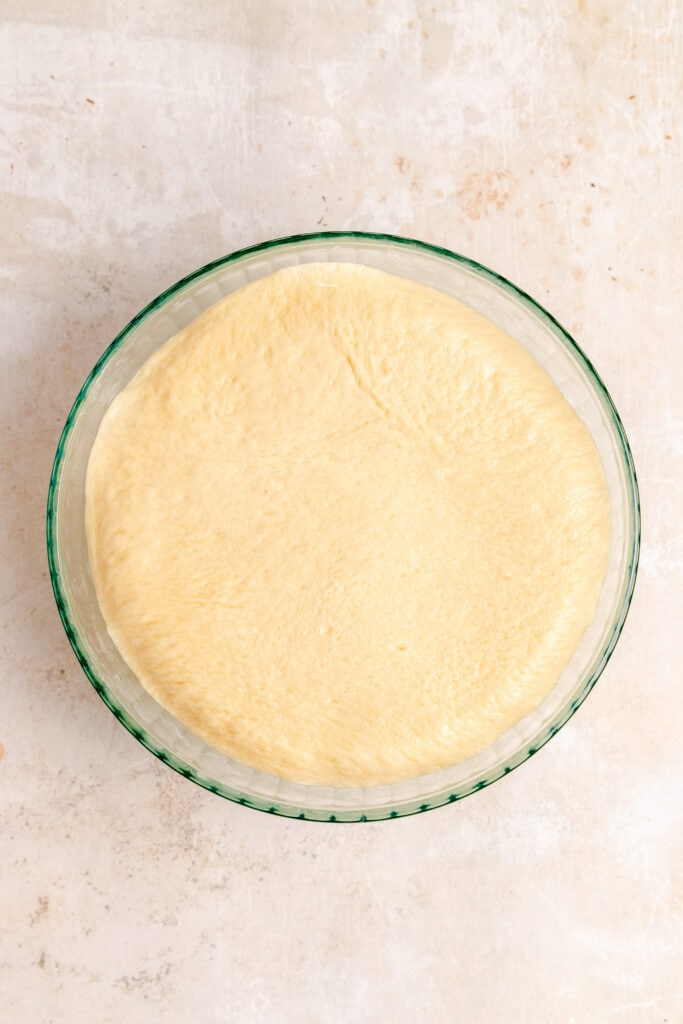
How do I know if my dough has proofed for long enough?
These schoko schnecken proof twice; the first time is right after mixing, the second time is once they have been shaped. In both cases, the dough should double in size but not exceed that. It can be helpful to take a photo pre-proof to compare.
Can these be made in advance?
Definitely, but they are best fresh out of the oven! If you want the chocolate to be soft and oozy, reheat in the microwave for 10-15 seconds. To store longer, I recommend wrapping them individually in plastic and then placing them in a larger airtight freezer bag or container, and place in the freezer for up to two months.
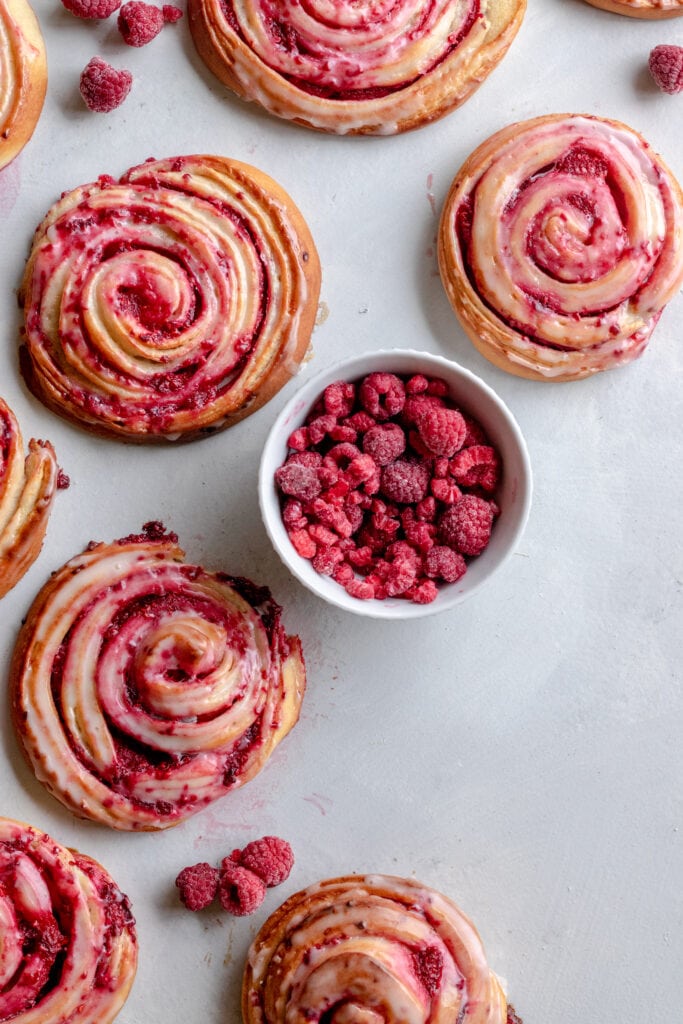
You may also like…
Tips for making Chocolate Pinwheels
- When making yeasted dough, ensure that you allow your mixer to fully knead the dough, until it forms a smooth ball and the sides of the bowl are cleaned.
- It is very important that the chocolate filling has cooled enough to be spreadable and not run off the sides of the dough, but also not be too firm so that it can’t be spread.
- When cooking the chocolate filling, stir it frequently to prevent the sugar, milk, or chocolate from burning.
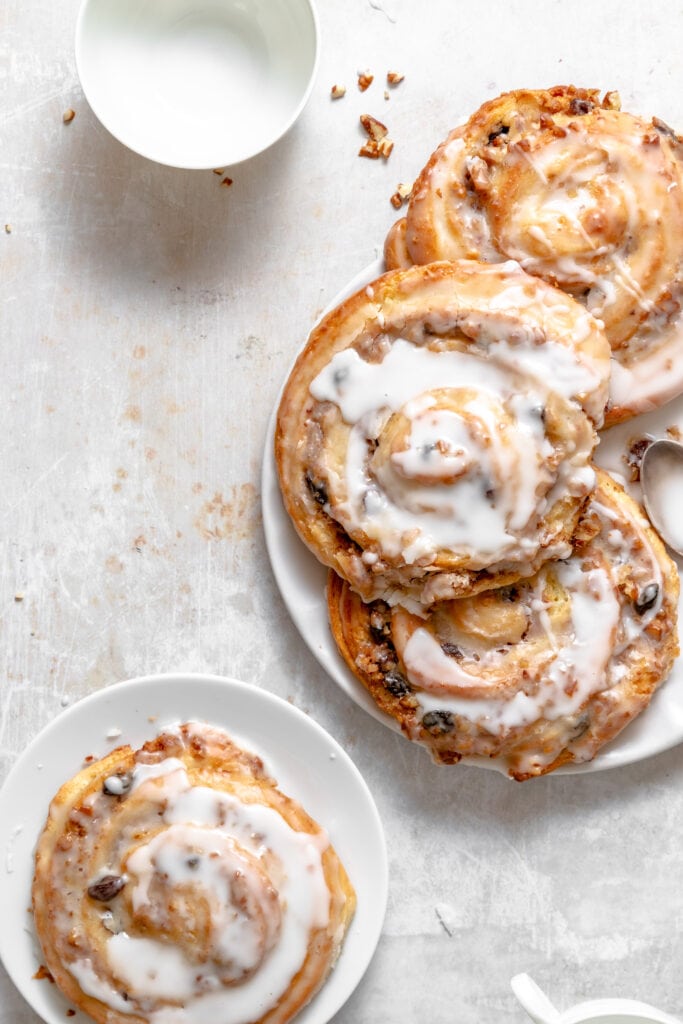
- To create the deliciously thin/sticky glaze, be sure to brush them with the thin glaze immediately after they come out of the oven. The residual heat helps the glaze to be absorbed into the dough.
Ingredients
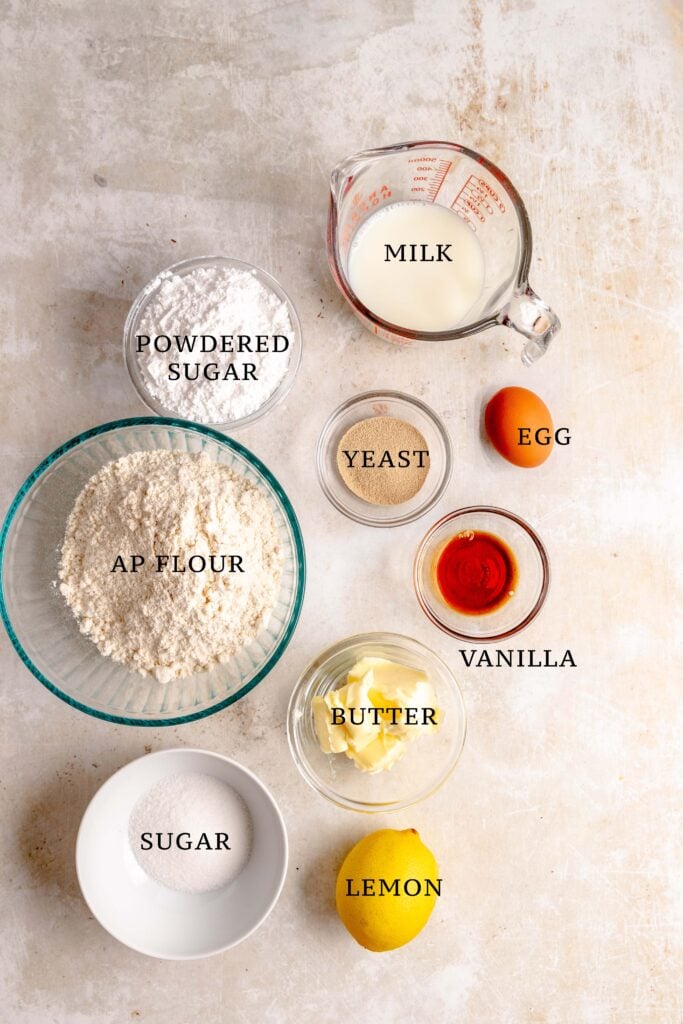
- All Purpose Flour: Any all purpose flour will work for these! I have not yet tried any other flours with this recipe.
- Sugar: This recipe uses granulated sugar in the dough and filling as well as powdered sugar in the glaze.
- Milk: The schoko schnecken use milk as the liquid in the dough; however, they will also work with non-dairy milks such as almond or light coconut milk.
- Butter: The butter adds moisture to the dough as well as the filling!
- Eggs: I use standard large eggs from the store. There is one whole egg in the dough.
- Yeast: In this recipe, active dry yeast is used. However, if you are using instant, simply whisk it in with the flour and sugar in the first step.
- Vanilla Extract: Vanilla extract adds flavor to the dough.
- Dark Chocolate: Dark chocolate is melted into the filling to add extra chocolatey flavor. You can use either bars of chocolate that you chop finely or chocolate chips. Many people will say not to use chocolate chips as they have a coating that helps them maintain their shape, but when melting them down, they are an easy shortcut.
- Cocoa Powder: Cocoa powder, when melted with butter, creates a rich and fudgy texture that doesn’t dry out the way that just chocolate does.
- Heavy Cream: Heavy cream, along with butter, adds richness and moisture to the filling.
- Lemon Juice: A little touch of lemon juice in the glaze helps bring a brightness to them and balances out the sweetness of the chocolate.
How to make Chocolate Pinwheels
Chocolate Filling
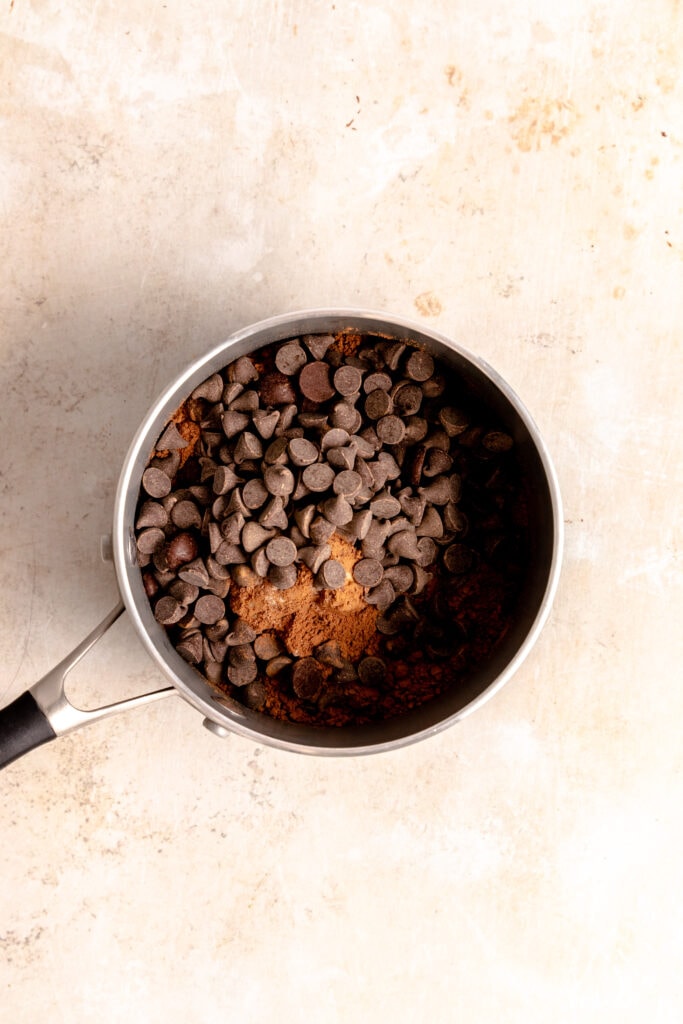
- In a medium pot, combine the chopped dark chocolate, butter, heavy cream, sugar, and cocoa powder. Place over medium heat and stir frequently until the sugar is fully dissolved.
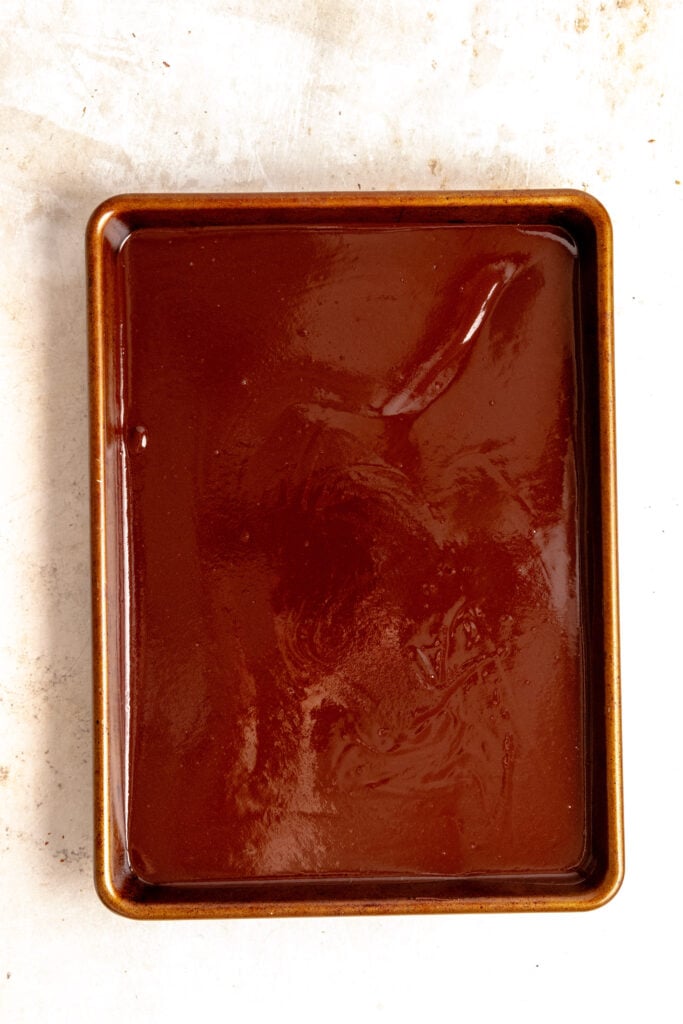
- Once cooked, pour the mixture into a large shallow bowl or baking sheet and set aside to cool. Stir occasionally to help it cool evenly.
Make the dough
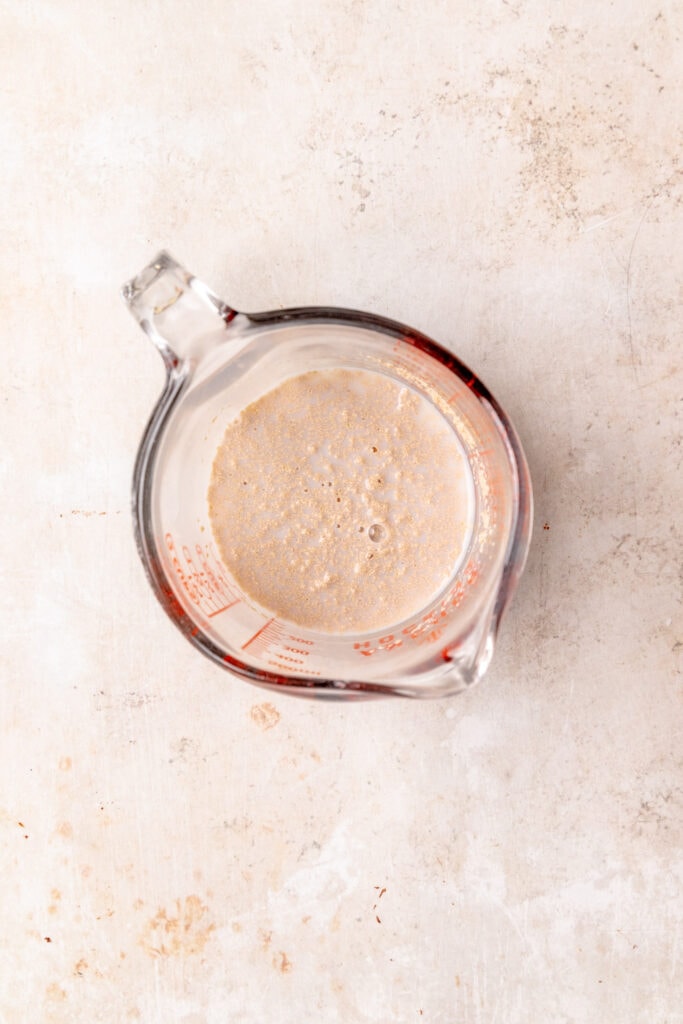
- Heat the milk until it is just lukewarm, then stir in the yeast. Set aside to bloom for ten minutes.
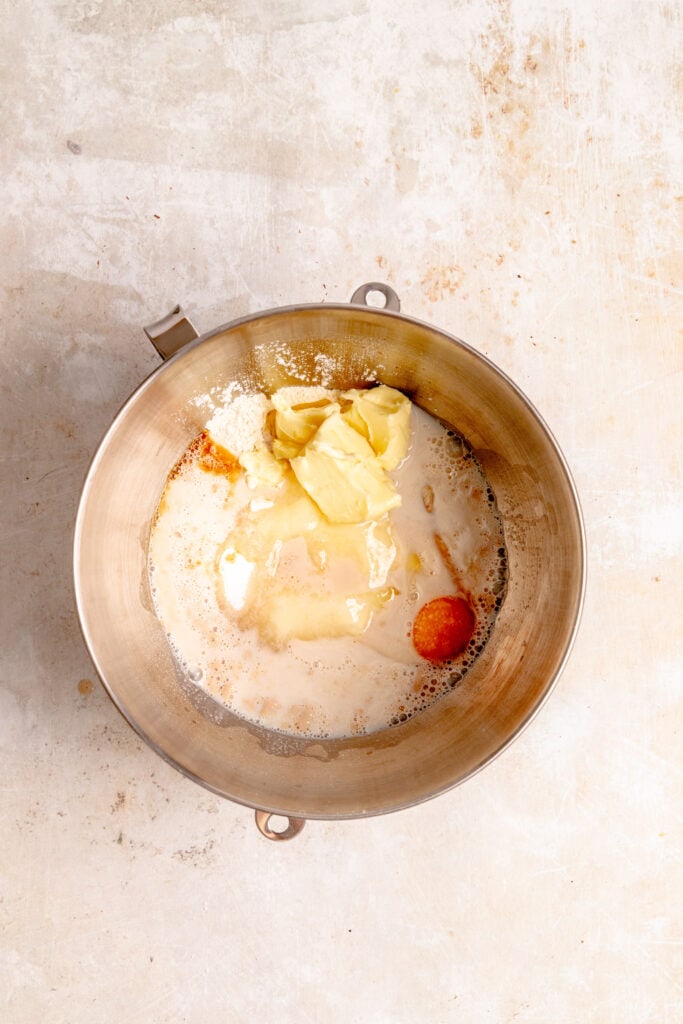
- In the bowl of a stand mixer add in the flour and sugar, then whisk to combine.
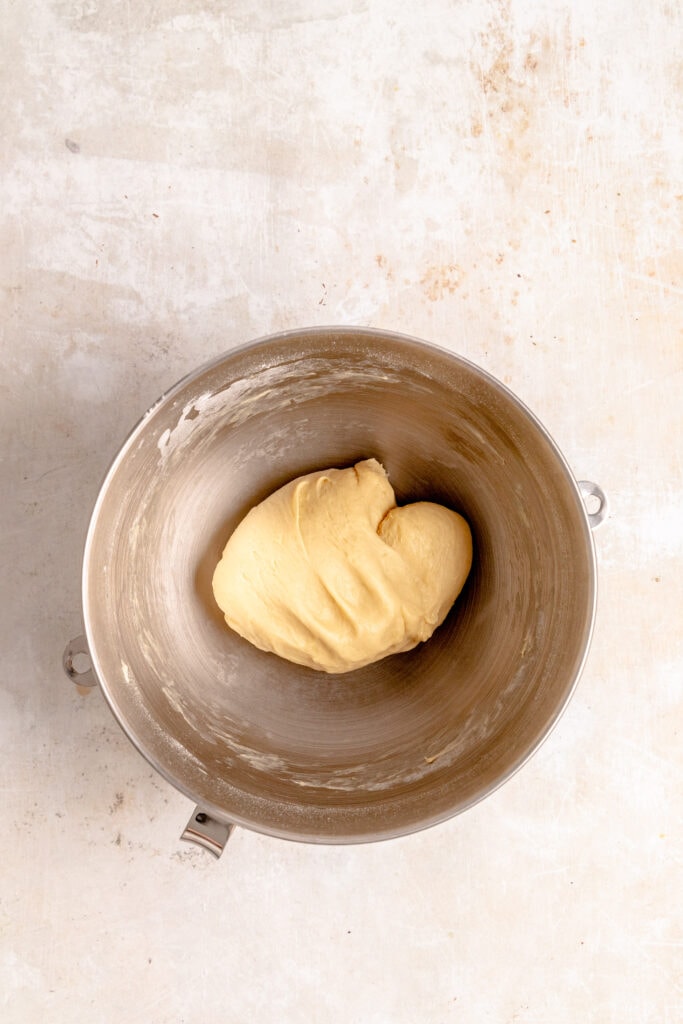
- Then add in the butter, egg, vanilla, and bloomed yeast/milk mixture. Use the dough hook attachment to knead the dough on medium low speed until smooth and the sides of the mixing bowl are clean.
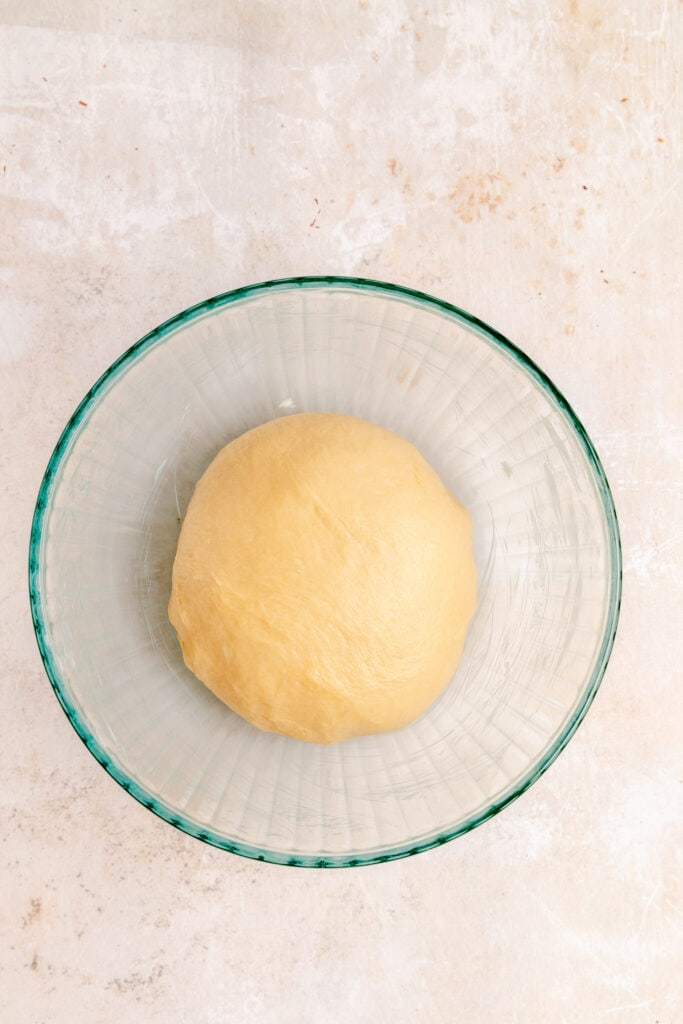
- Shape the dough into a ball and place in a lightly greased bowl (can be the same mixing bowl). Cover the bowl with a towel or plastic and place somewhere warm to rise for an hour.
Assemble
- If the chocolate filling is still too soft, place it in the fridge to firm up for 5-10 minutes.
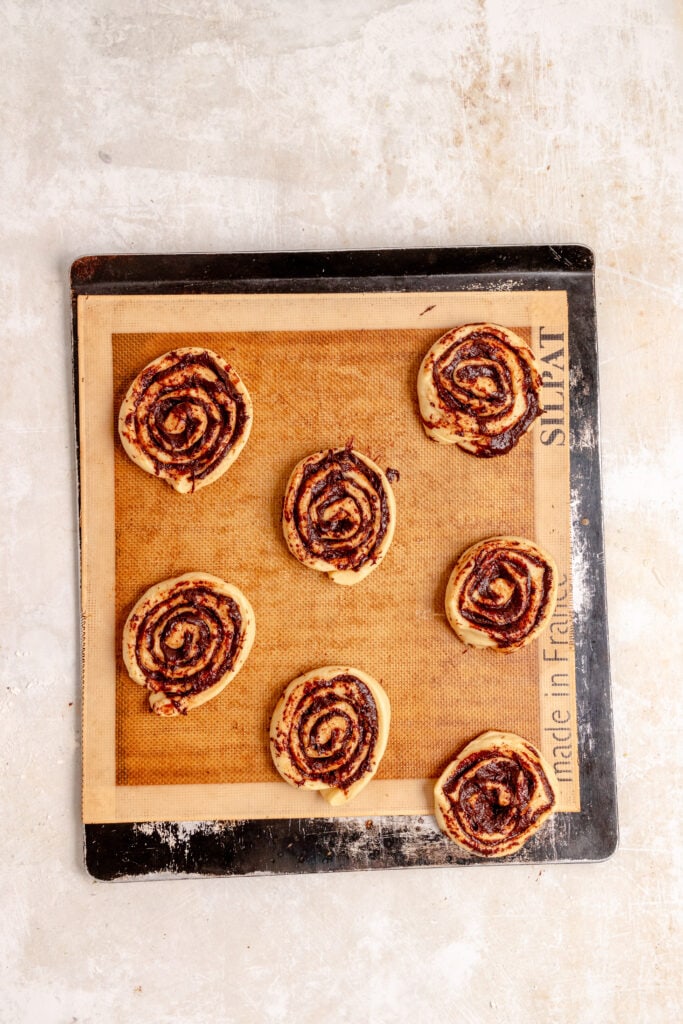
- Line 2 baking sheets with parchment paper or silicone baking mats.
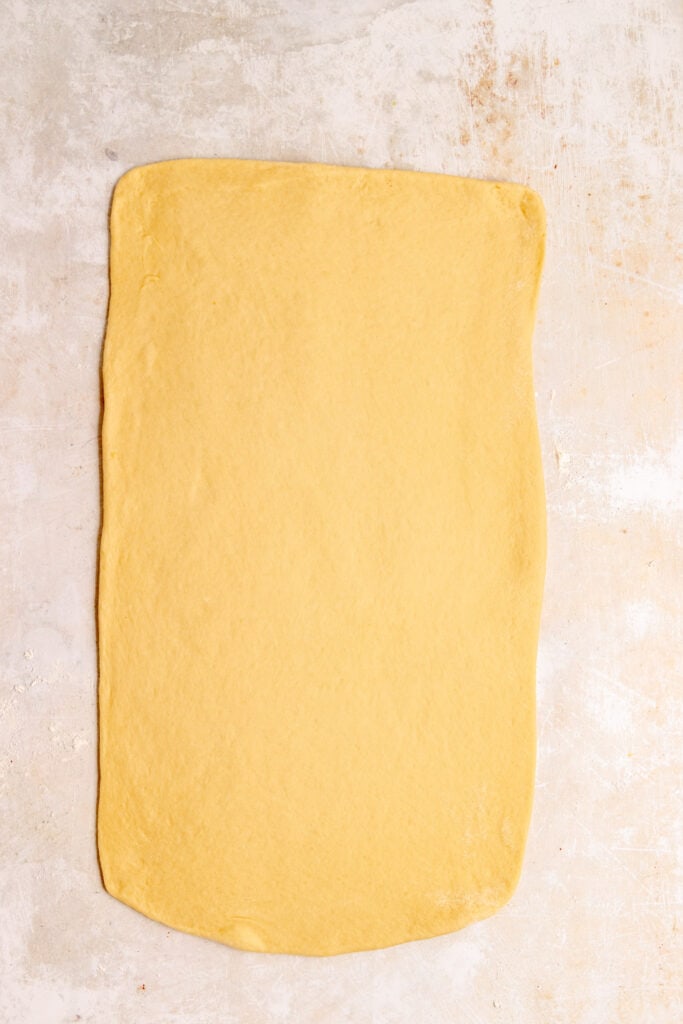
- Once proofed, gently roll the dough out into a 24 cm x 60 cm rectangle.
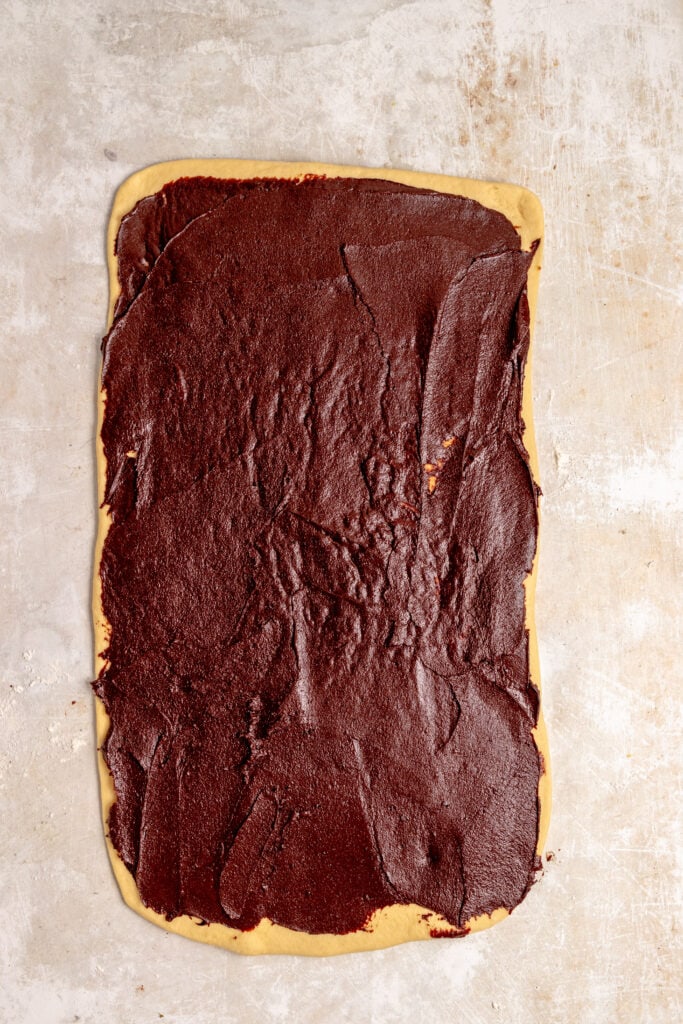
- Use an offset spatula or rubber spatula to spread the firmed up chocolate spread over the dough. There is no need to leave a border as the filling won’t squeeze out.
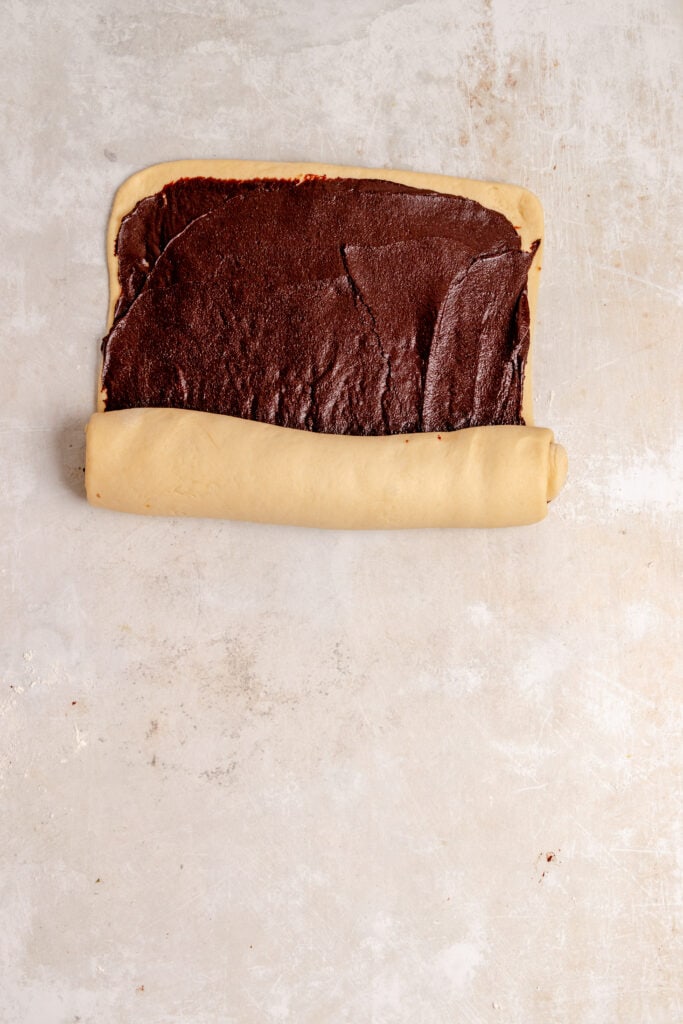
- Starting at one short end, roll the dough up tight. Squeeze it along the way to keep a tight roll.
- Once rolled up, place the roll on it’s seam. Trim off one end to create a clean slice. Then, mark 2 cm slices along the top of the roll.
- Use a sharp knife to slice through the roll and create approximately 12 slices. Place 6 slices onto each baking sheet. Tuck the end of each roll/slice under each slice. This will prevent the roll from unrolling.
- Place the baking sheets somewhere warm to proof for half an hour.
- Arrange two oven racks in the oven so that they divide the oven into thirds. Preheat the oven to 350 F or 325 F if baking on convection – either will work for this recipe.
Make the Glaze
- In a medium bowl, whisk together the water, lemon juice, and powdered sugar until smooth.
Bake
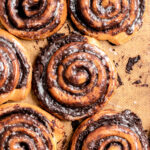
- Once proofed, bake the schnecken for 20 minutes until golden brown. If not baking on convection, rotate and swap the baking sheets after 12 minutes to make sure they bake and brown evenly.
- Once baked, remove the schnecken from the oven and immediately brush with the glaze and leave them to cool for 5 minutes before enjoying!

Schoko Schnecken | Chocolate Pinwheels
Equipment
- Stand Mixer
Ingredients
Chocolate Filling
- 170 grams dark chocolate chips or a bar finely chopped
- 120 grams butter
- 120 grams granulated sugar
- 30 grams cocoa powder
- 80 ml heavy cream
Dough
- 12 grams active dry yeast
- 125 ml milk lukewarm
- 350 grams ap flour
- 50 grams granulated sugar
- 1 egg room temp
- 1 tsp vanilla extract
- 100 grams butter softened
Glaze
- 1 tbsp lemon juice
- 2 tbsp water more as needed
- 250 grams powdered sugar
Instructions
Make the Chocolate filling
- In a medium sauce pot, combine all filling ingredients.
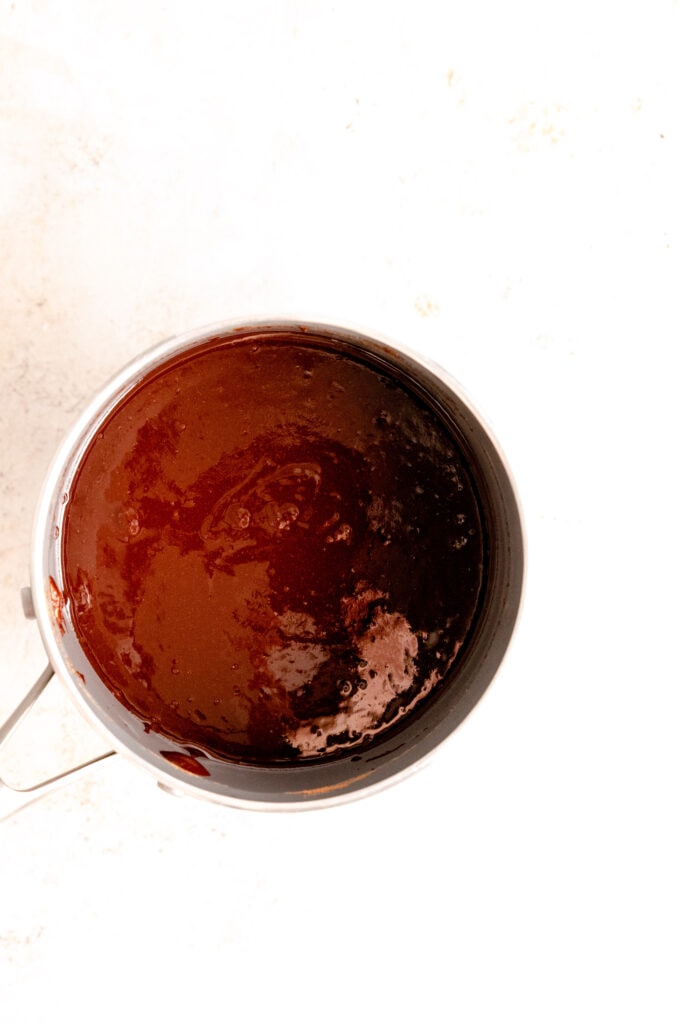
- Heat over medium heat, stirring frequently, until everything has melted together and it has just begin to barely bubble.
- Then transfer the filling to a large shallow bowl or baking sheet so it can spread and chill faster.
Dough
- Heat the milk to lukewarm and stir in the yeast.
- Cover and set aside for 10 minutes to bloom.
- In a large stand mixing bowl, add in the remaining dough ingredients.
- Add in the bloomed milk/yeast mixture.
- Knead together with the dough hook on low speed for 15 min or until the dough is a smooth cohesive ball of dough.
- Shape the dough into a ball and place, smooth side up, in a greased bowl.
- Cover the bowl with plastic wrap or proofing bag and set it somewhere warm to rest for 1 hour.
Assembling the Schnecken
- Check the consistency of the chocolate filling, it should be about that of soft peanut butter. You want it spreadable but not runny.
- If it's still too soft, place it in the fridge for a few minutes.
- Prepare two baking sheets with parchment paper or silicone baking mats. Preheat the oven to 350 F or 325 if baking on convection.
- Arrange two baking racks so that they divide the oven into thirds.
- After the 1 hr has passed, roll the dough out into a rectangle that measures 20 cm x 60 cm.
- Spread the cooled chocolate filling over the dough – it should cover all of the dough.
- Roll up the dough starting with one short side. As you roll, gently squeeze it to make sure the roll is nice and tight.
- Slice of one end to create a neat slice edge.
- Measure out slices that are approximately 2 cm thick and mark them along the top of the roll.
- Cut at each 2 cm mark. Place the slices onto the prepared parchment, leaving at least 3 inches between each roll. There should be no more than 6 on a half size baking sheet.
- Tuck the ends under each roll. Leave the schnecken to rest for 30 minutes
Baking and finishing
- After the schnecken have rested for 30 minutes, bake them for 20 min until golden brown. Rotate and switch the baking sheets after the first 12 min to ensure even browning if not baking on convection.
- While the schecken are baking, whisk together the powdered sugar, lemon juice, and water to create a thin glaze. It should not be opaque.
- Once the schnecken are done baking, while still hot, brush with the glaze.
- After you have glazed them all, they should be cool enough to gently move to cooling racks where they should be allowed to cool for at least 3-4 more minutes before enjoying.
Notes
Nutrition
This page may contain affiliate links. This means that if you click on one of the product links above and complete a purchase, I’ll receive a small commission at no extra cost to you. I will never place a link nor make a recommendation on a product or service that I don’t love or use personally. Read our privacy policy here. Thank you for supporting Red Currant Bakery.