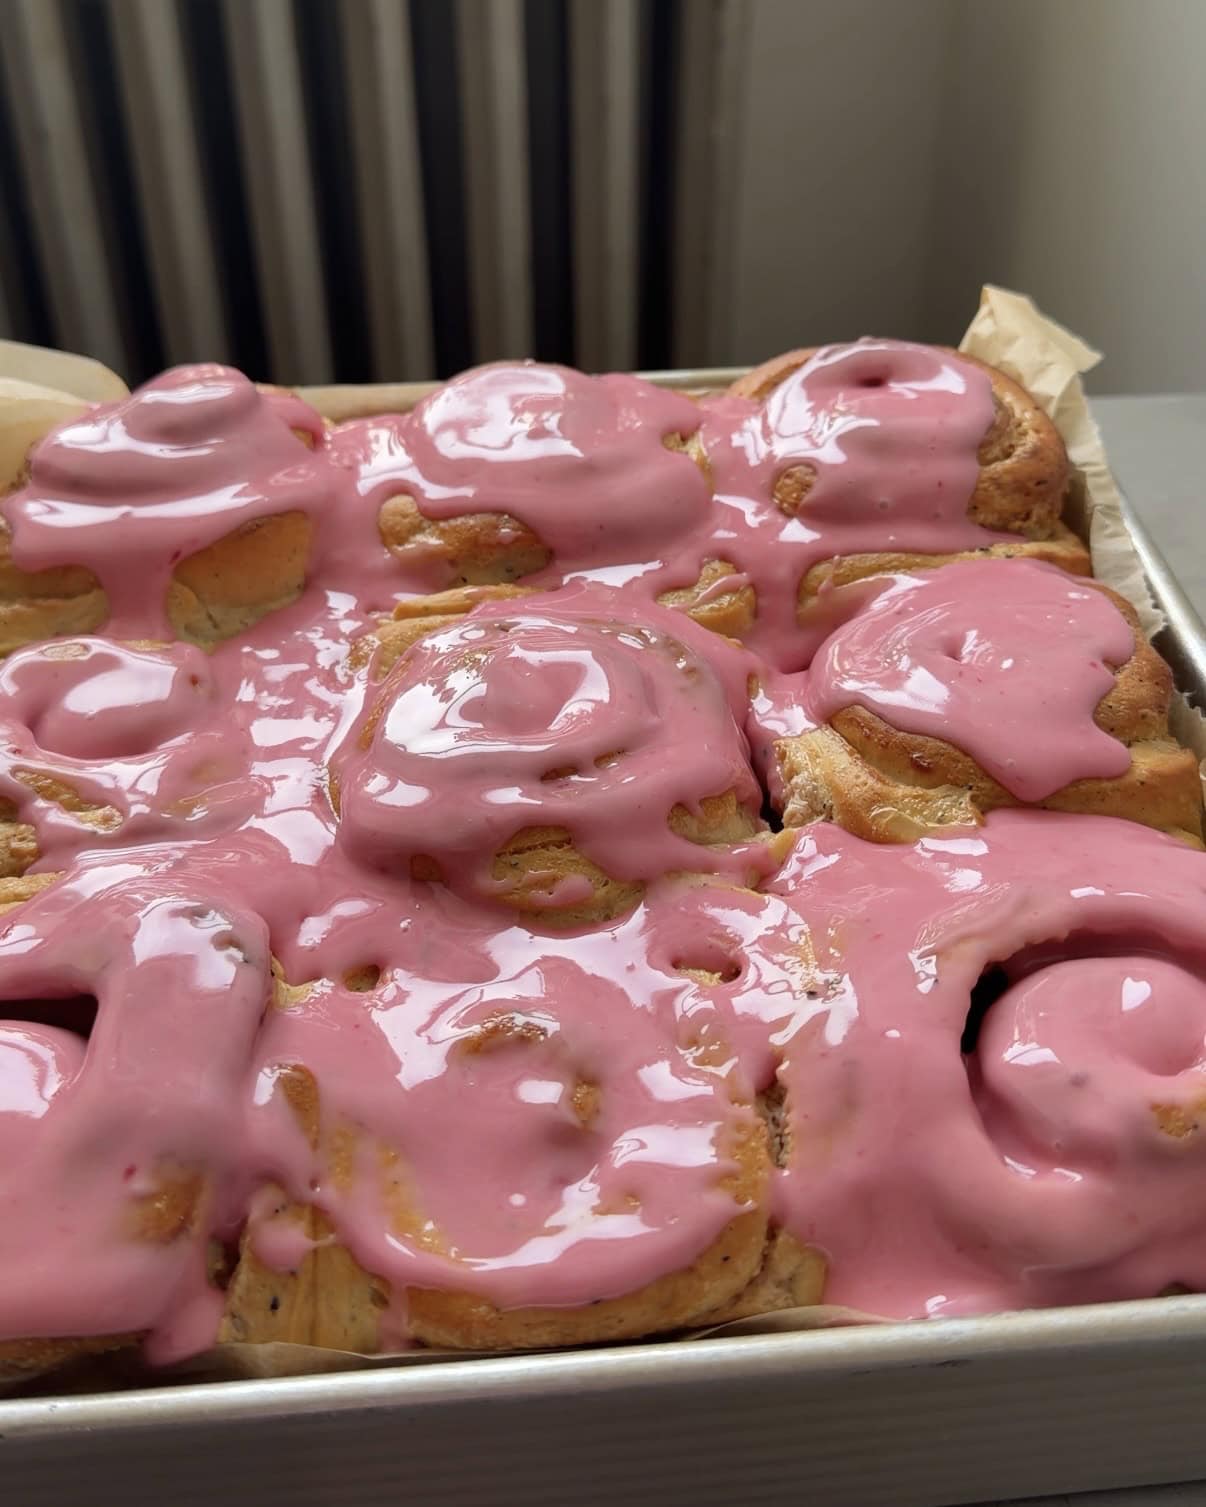
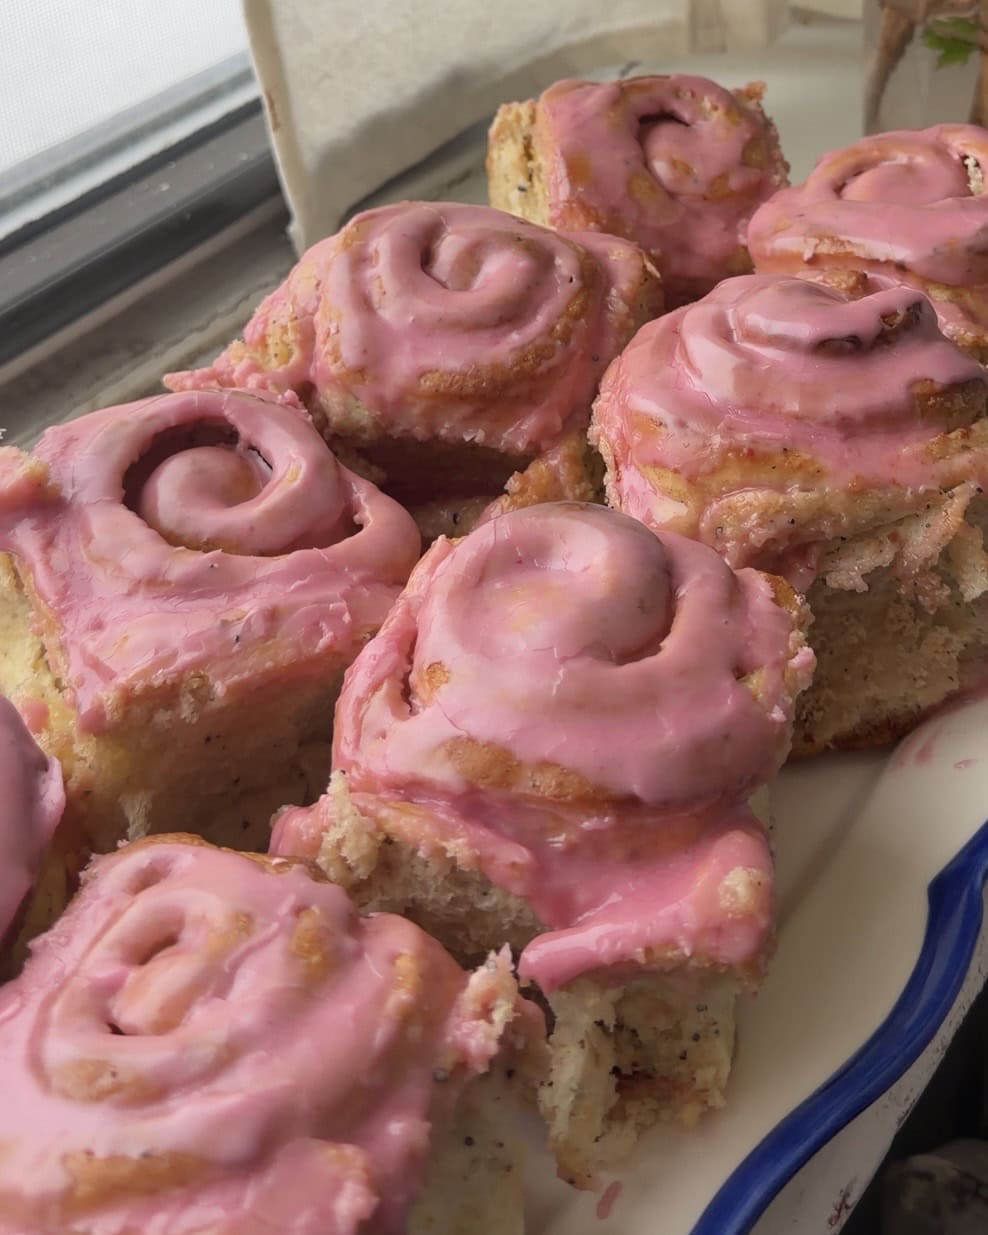
Fluffy orange cardamom brioche dough, a simple orange cream cheese filling, topped with a blood orange glaze, these Cardamom Blood Orange Buns are fluffy and perfect for breakfast.
Can you make these buns in advance?
If you want to bake them the night before, you definitely can; just make sure to let them cool completely and then wrap the pan in plastic. However, they are best fresh so, you can make the dough the night before. Then wrap it in plastic on a quarter sized baking sheet and leave it in the fridge overnight. In the morning shape the rolls and then bake them!
What type of pan is best for making cinnamon rolls?
I strongly recommend using a metal plan for baking cinnamon rolls, glass pans tend to take too long to heat up and then don’t create a great puff and the center roll struggles to bake through. Ceramic or glass pans can work too just watch the rolls to make sure they are baked through even if it’s longer than the baking time. For this recipe I used this 9″ x 9″ metal baking pan.
How to get super fluffy cinnamon rolls?
There are a lot of things that go into creating a fluffy cinnamon roll but two of my favorite tips are using cream cheese as a filling and drizzling the buns with heavy cream just before baking!
Pre-ground cardamom versus cardamom seeds
Swedish cardamom buns are made with just the seed part of a cardamom pod. However, when you buy pre-ground cardamom it includes the pod which makes a bit more of a grey color and a more subtle flavor. Both will work but if you can get your hands on just the seeds you’ll get the beautiful black specks and a stronger flavor! If you live in nyc Kalustyans has it!
You may also like…
Tips for making Blood Orange Cardamom Buns
- Make sure the egg and butter for the dough are both at room temperature and make sure the salt doesn’t directly touch the yeast.
- I recommend using just the seed part of a cardamom pod. However, when you buy pre-ground cardamom it includes the pod which makes a bit more of a grey color and a more subtle flavor. Both will work but if you can get your hands on just the seeds you’ll get the beautiful black specks and a stronger flavor! If you live in nyc Kalustyans has it!
- To cut down on time in the morning, you can make the dough the night before. Once the dough is fully kneaded and wrapped up on the quarter sized baking sheet, it can be kept in the fridge for anywhere from 1 hour to overnight. In the morning take the dough out of the fridge and continue with assembling!
- Adding the butter in after the dough comes together may seem counter intuitive and takes a moment to mix in but it allows the dough to create a bit of extra strength!
- When making yeasted dough, ensure that you allow your mixer to fully knead the dough, until it forms a smooth ball and the sides of the bowl are cleaned. This will happen twice while kneading the dough, once before the butter is added and once after.
- When rolling out the dough, try to make it as rectangular as possible. This will help when it comes shaping and cutting the twist. I use a bench scraper to keep reshaping into a rectangle as I roll it because it can be tricky to reshape at the end.
- Place the rolls into the pan with the ends facing into the center of the pan so that they keep a more regular shape when baking.
- Make sure to bake the buns until golden brown on top, all ovens and pans are different so always go based on look with these!
Ingredients
- Oranges: Orange zest and and juice are in most elements of these rolls. I recommend using blood oranges to get that beautiful pink glaze color.
- All Purpose Flour: Any all purpose flour will work for these! I have not yet tried any other flours with this recipe.
- Cardamom: If possible you want to use cardamom seeds which are black and grind them yourself but if not, pre-ground cardamom will work too.
- Sugar: This recipe uses granulated sugar in the dough and powdered sugar in the glaze.
- Yeast: In this recipe, instant yeast is used. However, if you are using active dry, simply whisk it in with the warm milk and let it sit for 10 minutes first and then add in the remaining ingredients.
- Salt: Fine sea salt is used to balance out the sweetness and enhance the flavors.
- Milk: The dough use milk as the liquid in the dough; however, it will also work with non-dairy milks such as almond milk.
- Eggs: I use standard large eggs from the store. There is one whole egg in the dough.
- Butter: The butter is used in the dough! I recommend Kerrygold salted butter for this.
- Vanilla: A little vanilla extract is used in the dough and the cream cheese filling to enhance the flavors.
- Cream Cheese: This recipe uses cream cheese in the filling and I love it but there aren’t really great substitutes. However, if you can’t find cream cheese I recommend doing about 2/3 of the filling from this Lemon Poppyseed Twist.
How to make a Cardamom Blood Orange Buns
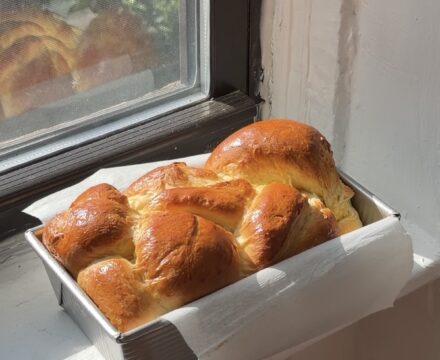
Orange Brioche
- Use a spice grinder or mortar and pestle to grind the cardamom seeds if needed.
- In the bowl of a stand mixer, add in the sugar and the zest of an orange. Rub the zest into the sugar with your fingers until combined and fragrant.
- Add in the flour, cardamom, and yeast, and whisk to combine.
- Sprinkle in the salt. Then add in the egg, warm milk, and vanilla.
- Use a dough hook to knead everything together on medium low speed for 15 minutes until the dough has smooth edges and the bowl is clean.
- Add half of the butter in and knead again until incorporated (about 5 minutes). Add in the second half of the butter and knead once more until smooth. The dough should pass the window pane test *see notes section for more info.
- If baking same day, keep the dough in the bowl and cover with a lid or plastic wrap and place somewhere warm to rise.
- If prepping the dough the night before, line a quarter sized baking sheet with a sheet of plastic wrap. Shape the dough into a rough rectangle that is about an inch thick. Top the dough with another sheet of plastic wrap.
- Place the dough on the sheet pan into the fridge overnight.
Orange Cream Cheese Filling
- In a medium mixing bowl add in the cream cheese, salt, orange zest, and orange juice.
- Beat or stir to combine. You don’t need it to be light and fluffy just completely mixed.
Assemble
- Preheat the oven to 350 F and place a rack in the center of the oven. Or just below if the heat comes from the top of the oven.
- If not using a nonstick pan, line your pan with a sheet of parchment paper.
- Once the dough has doubled in size, or the next morning, knock any air out of the dough. Roll the dough out on a lightly floured surface to about 18″ x 12″.
- Spread the cream cheese over the entire surface of the dough.
- Starting with one short side, roll the dough up, keeping the ends as even as possible.
- Give the roll a slight squeeze until it is about 14″ long.
- Trim about 1/2″ off of each end then use a ruler to mark 8 marks, 1.5″ apart. Cut the rolls one at a time.
- Place the rolls into a 9″ x 9″ pan, they should be arranged in a 3×3 grid.
- Place the pan somewhere warm until the rolls are puffy, this can take anywhere between 30 mins and an hour depending on the temperature of your home.
- Once puffy, drizzle the top of the rolls with the heavy cream.
- Bake for 25 minutes in the hot oven. Then rotate 180 degrees and bake for another 15 minutes.
- Once golden brown, remove the pan from the oven and set on a rack to cool for 10 minutes while making the glaze.
Glaze
- While the roll cools, whisk together the blood orange juice and powdered sugar to make a thick glaze.
- Spoon the orange glaze over the top of the rolls and use the back of a spoon to spread it out.
- Serve warm! Store leftovers in an airtight container at room temperature.


Cardamom Blood Orange Buns
Equipment
Ingredients
Orange Brioche
- 10 grams ground cardamom preferably the seeds freshly ground, pre ground cardamom if needed
- 1 blood orange zested
- 50 grams granulated sugar
- 350 grams all purpose flour
- 10 grams instant yeast
- 1 egg standard large, room temperature
- 180 grams whole milk lukewarm
- 1 teaspoon vanilla extract
- 1/4 teaspoon fine sea salt
- 40 grams butter room temperature
Cream Cheese Filling
- 8 ounces cream cheese room temperature
- 1 blood orange zested
- 20 grams blood orange juice juice
- 1/4 teaspoon fine sea salt
- 100 grams heavy cream for drizzling!
Orange Glaze
- 1 blood orange juiced more as needed
- 200 grams powdered sugar
Instructions
Orange Brioche Dough
- Use a spice grinder or mortar and pestle to grind the cardamom seeds if needed.
- In the bowl of a stand mixer, add in the sugar and the zest of an orange. Rub the zest into the sugar with your fingers until combined and fragrant.
- Add in the flour, cardamom, and yeast, and whisk to combine.
- Sprinkle in the salt. Then add in the egg, warm milk, and vanilla.
- Use a dough hook to knead everything together on medium low speed for 15 minutes until the dough has smooth edges and the bowl is clean.
- Add half of the butter in and knead again until incorporated (about 5 minutes). Add in the second half of the butter and knead once more until smooth. The dough should pass the window pane test *see notes section for more info.
- If baking same day, keep the dough in the bowl and cover with a lid or plastic wrap and place somewhere warm to rise.
- If prepping the dough the night before, line a quarter sized baking sheet with a sheet of plastic wrap. Shape the dough into a rough rectangle that is about an inch thick. Top the dough with another sheet of plastic wrap.
- Place the dough on the sheet pan into the fridge overnight.
Orange Cream Cheese Filling
- In a medium mixing bowl add in the cream cheese, salt, orange zest, and orange juice.
- Beat or stir to combine. You don't need it to be light and fluffy just completely mixed.
Assemble
- Preheat the oven to 350 F and place a rack in the center of the oven. Or just below if the heat comes from the top of the oven.
- If not using a nonstick pan, line your pan with a sheet of parchment paper.
- Once the dough has doubled in size, or the next morning, knock any air out of the dough. Roll the dough out on a lightly floured surface to about 18" x 12".
- Spread the cream cheese over the entire surface of the dough.
- Starting with one short side, roll the dough up, keeping the ends as even as possible.
- Give the roll a slight squeeze until it is about 14" long.
- Trim about 1/2" off of each end then use a ruler to mark 8 marks, 1.5" apart. Cut the rolls one at a time.
- Place the rolls into a 9" x 9" pan, they should be arranged in a 3×3 grid.
- Place the pan somewhere warm until the rolls are puffy, this can take anywhere between 30 mins and an hour depending on the temperature of your home.
- Once puffy, drizzle the top of the rolls with the heavy cream.
- Bake for 25 minutes in the hot oven. Then rotate 180 degrees and bake for another 15 minutes.
- Once golden brown, remove the pan from the oven and set on a rack to cool for 10 minutes while making the glaze.
Glaze
- While the roll cools, whisk together the orange juice and powdered sugar to make a thick glaze.
- Spoon the orange glaze over the top of the rolls and use the back of a spoon to spread it out.
- Serve warm! Store leftovers in an airtight container at room temperature.
Notes
- Make sure the egg and butter for the dough are both at room temperature and make sure the salt doesn’t directly touch the yeast.
- I recommend using just the seed part of a cardamom pod. However, when you buy pre-ground cardamom it includes the pod which makes a bit more of a grey color and a more subtle flavor. Both will work but if you can get your hands on just the seeds you’ll get the beautiful black specks and a stronger flavor! If you live in nyc Kalustyans has it!
- To cut down on time in the morning, you can make the dough the night before. Once the dough is fully kneaded and wrapped up on the quarter sized baking sheet, it can be kept in the fridge for anywhere from 1 hour to overnight. In the morning take the dough out of the fridge and continue with assembling!
- Adding the butter in after the dough comes together may seem counter intuitive and takes a moment to mix in but it allows the dough to create a bit of extra strength!
- When making yeasted dough, ensure that you allow your mixer to fully knead the dough, until it forms a smooth ball and the sides of the bowl are cleaned. This will happen twice while kneading the dough, once before the butter is added and once after.
- When rolling out the dough, try to make it as rectangular as possible. This will help when it comes shaping and cutting the twist. I use a bench scraper to keep reshaping into a rectangle as I roll it because it can be tricky to reshape at the end.
- Place the rolls into the pan with the ends facing into the center of the pan so that they keep a more regular shape when baking.
- Make sure to bake the buns until golden brown on top, all ovens and pans are different so always go based on look with these!
Nutrition
This page may contain affiliate links. This means that if you click on one of the product links above and complete a purchase, I’ll receive a small commission at no extra cost to you. I will never place a link nor make a recommendation on a product or service that I don’t love or use personally. Read our privacy policy here. Thank you for supporting Red Currant Bakery.