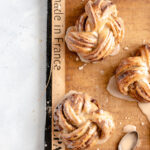
Breakfast knots flavored with espresso and filled with dates these Espresso Date Buns are perfect for any brunch or afternoon coffee!
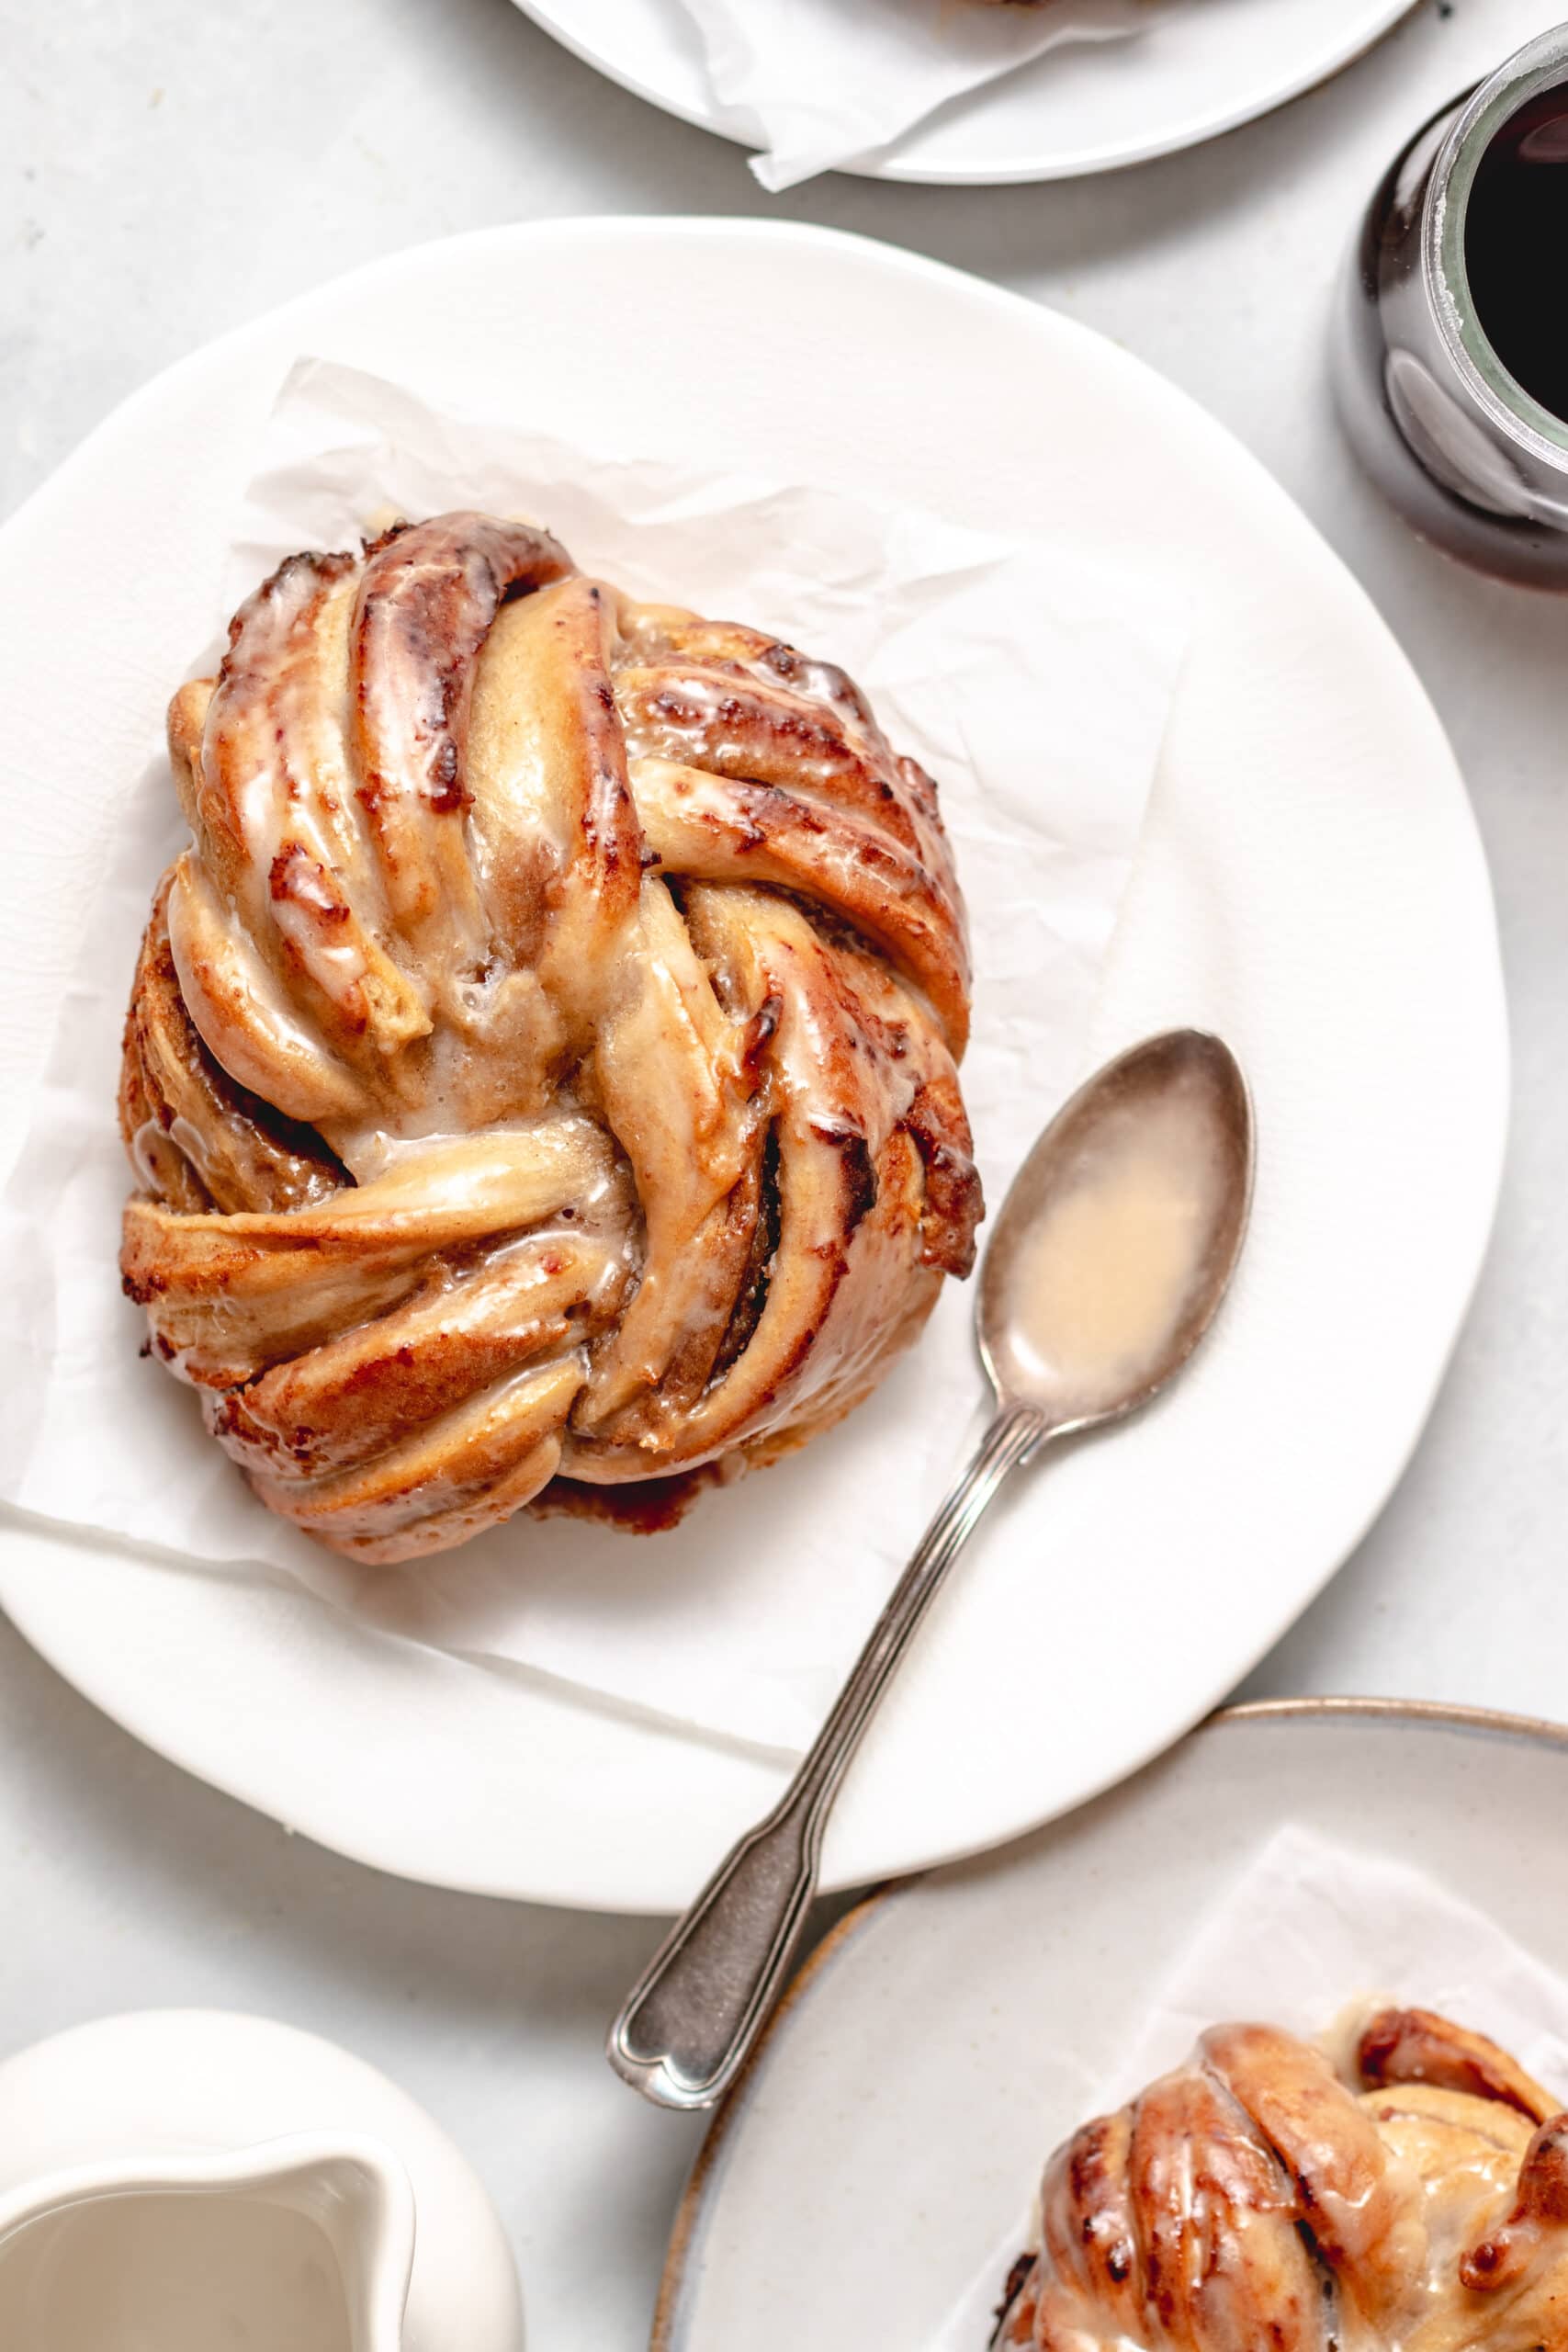
With a thin coffee glaze, these buns have the soft and delicious sweetness of a doughnut without the trouble of frying them. The dough is flavored with freshly brewed espresso and a touch of spices, then filled with a date butter. They are sure to wake anyone up on a sleepy weekend morning!
The dough for these buns is a very basic, yeasted dough making it quite easy to work with. The filling is made from only two ingredients- dates and butter! If you’re sitting there questioning this flavor combo, I get it. But, give it a try! The warm sweetness of the dates help balance out the bitterness of the espresso making for a perfect weekend bun.
Tips for making Espresso Date Knots
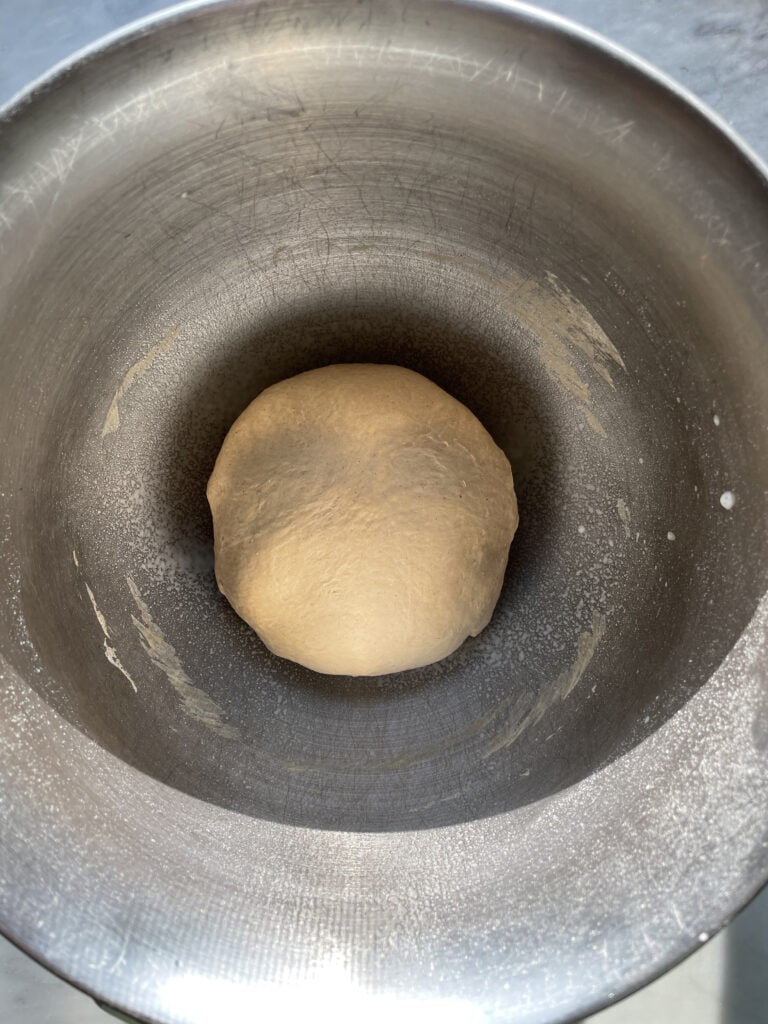
- Whenever you are making a yeasted dough make sure to knead it for a while, the dough should become one clean ball with smooth sides. Keep kneading for a couple minutes after it comes together. This should take between 10 and 15 minutes
- When spreading this filling, make sure to leave a sizable border, otherwise it will squish out and you will have a giant mess on your hands.
- When shaping the buns, don’t be scared to really tie them into knots and squish the ends together. Otherwise they will unwrap when baking.
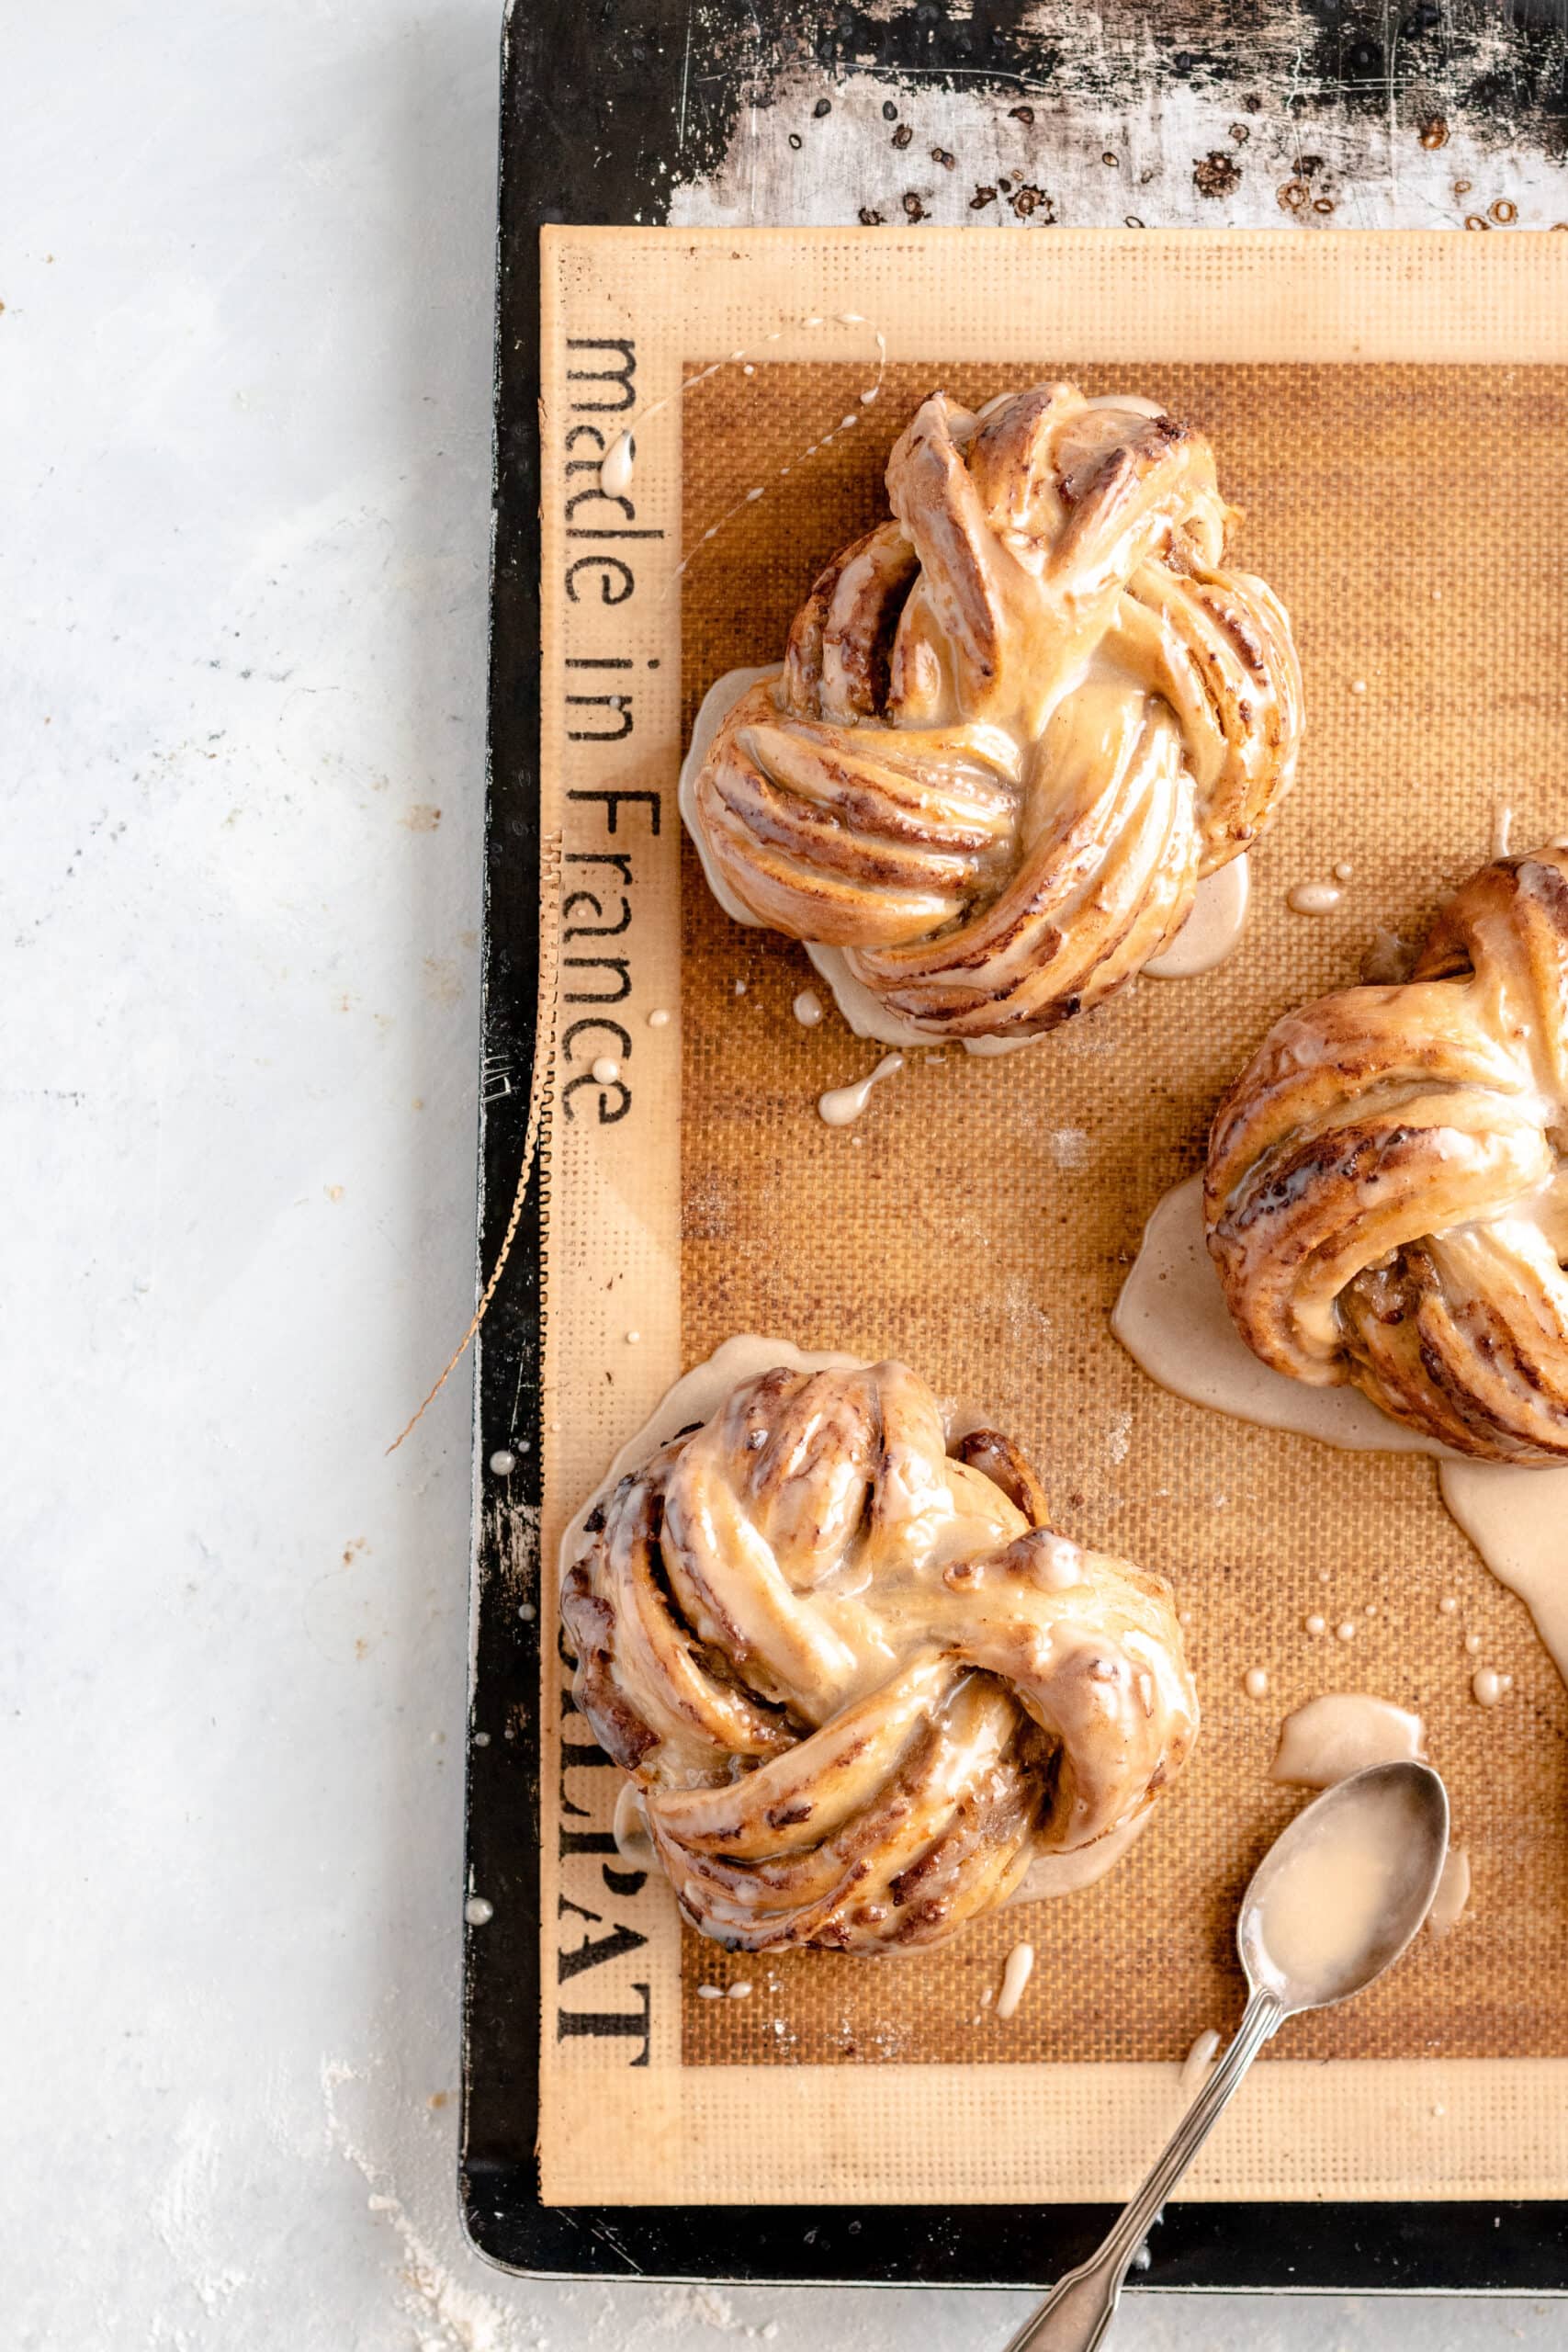
- Make sure to glaze these buns while they are still warm/hot! That way you will get that thin shiny glaze rather than a thick opaque icing layer.
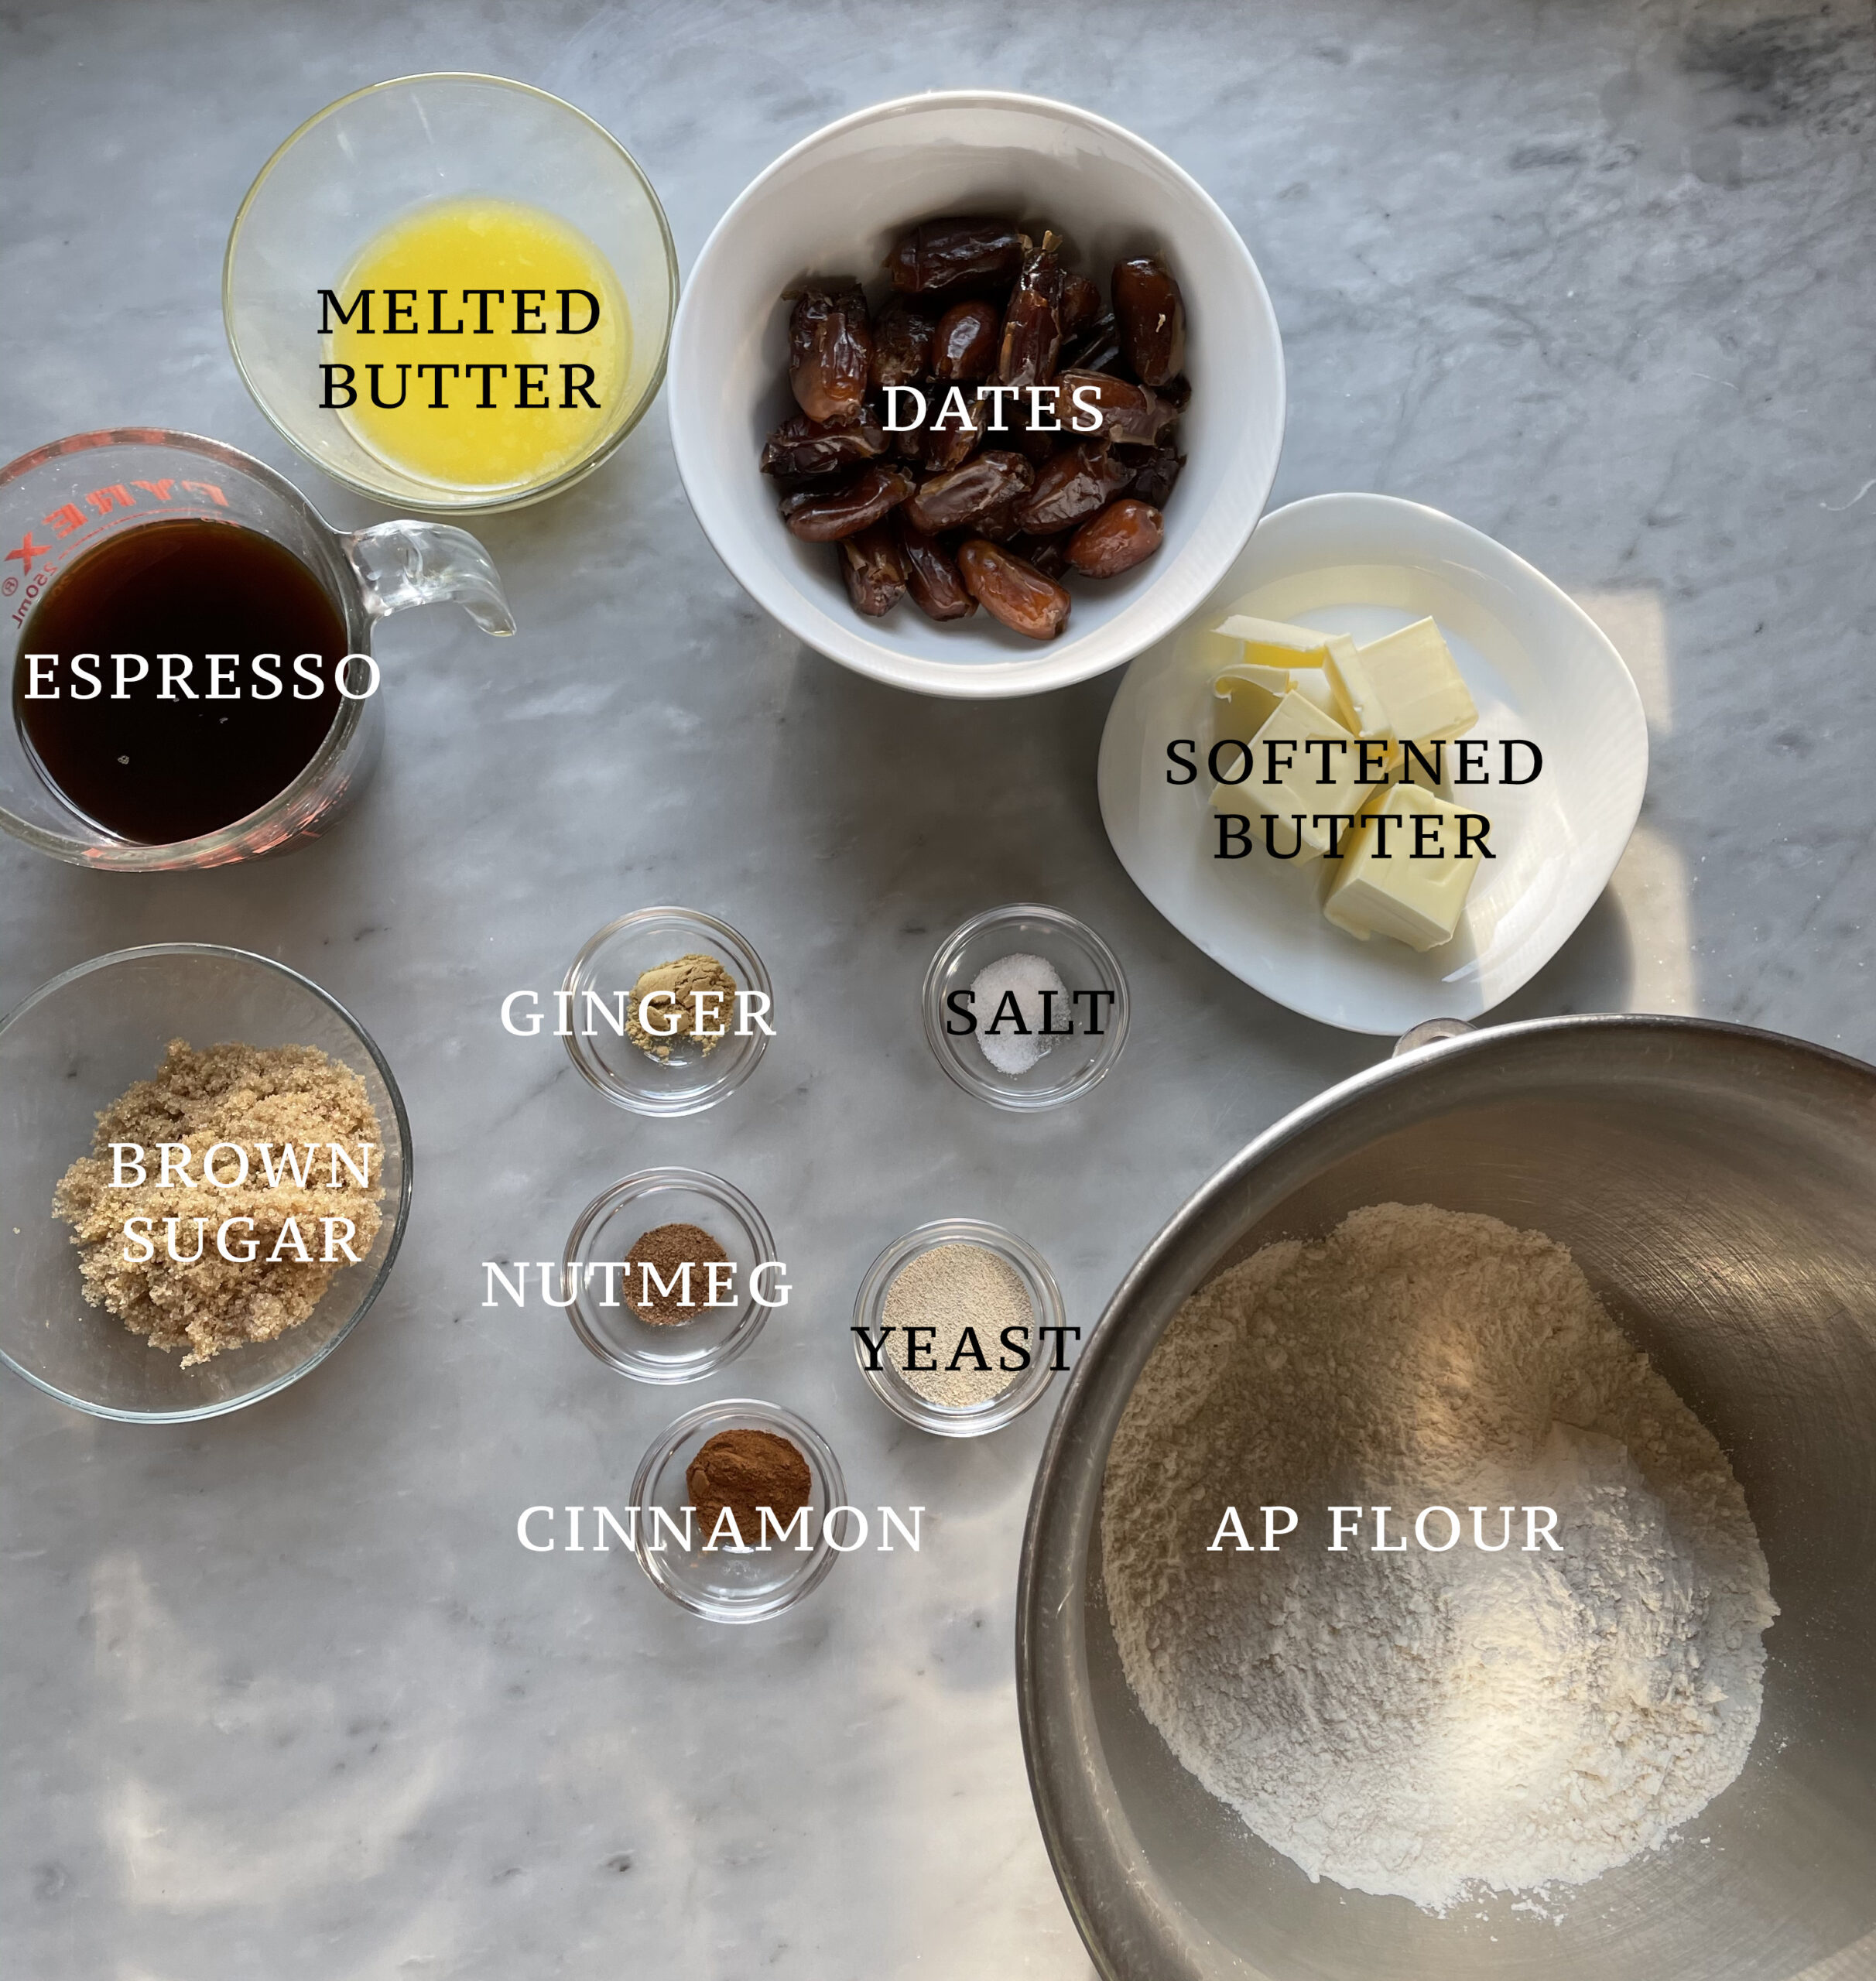
Ingredients for Espresso Date Buns
- All Purpose Flour: Any all purpose flour will work for these! I have not yet tried any other flours with this recipe.
- Sugar: This recipe uses brown sugar in the dough as well as powdered sugar in the glaze.
- Freshly brewed Espresso: Rather than milk, the main liquid of this dough is freshly brewed espresso; extra strong coffee will work as well. It will also be used as the liquid in the glaze. For the dough, make sure the espresso is warm but not hot – otherwise it will kill the yeast.
- Butter: Melted butter is used in the dough for moisture and softened butter is blended with the dates to create a filling.
- Yeast: In this recipe, instant yeast is used. However, if you are using active dry, simply bloom the yeast in the milk alone first and then proceed with the recipe.
- Ground cinnamon, nutmeg, ginger: These three spices add a subtle warmth and flavor to the dough.
- Salt & Vanilla Extract: Salt balances out the sweetness and the vanilla adds flavor to the dough.
- Medjool Dates: The dates are the main source of sweetness in the filling of the dough and add a delicious flavor and warmth that can’t be found in other sweeteners. If you cannot find medjool dates, others will work as well, just make sure they are relatively fresh.
How to make these bakery style breakfast buns
Make the dough
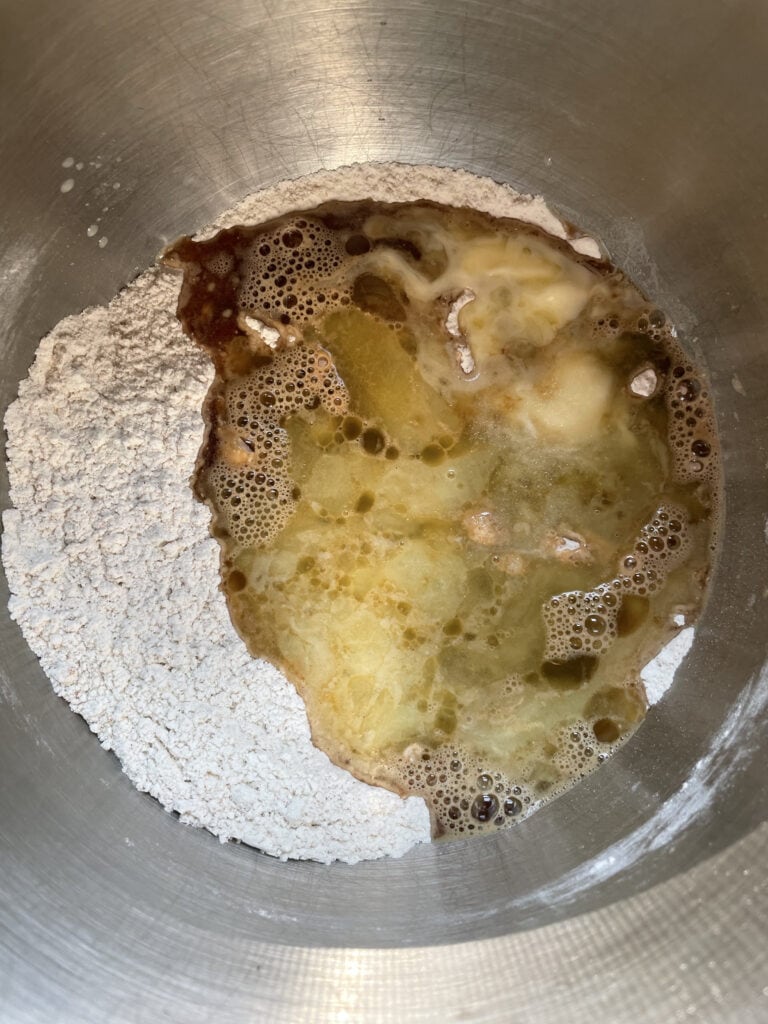
- In the bowl of a stand mixer, combine the flour, brown sugar, yeast, and spices. Whisk together to combine.
- Add in the melted butter, lukewarm espresso, vanilla, and salt. Knead with the dough hook attachment on low for 10-15 minutes until the dough becomes smooth and the sides of the bowl are clean.
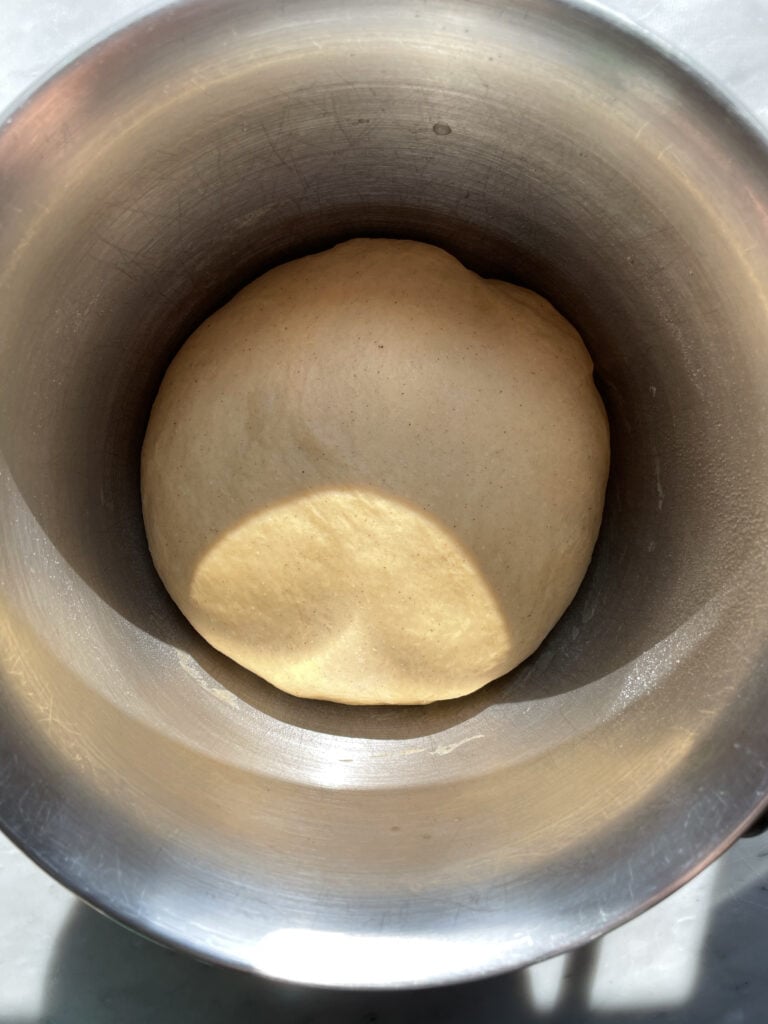
- Shape the dough into a ball and place in a lightly greased bowl. Cover the bowl with plastic and place somewhere warm to rise for 1 hour.
Make the Medjool Date filling
- Pour the dates into a heatproof bowl. Pour enough boiling water into the bowl to cover the dates, then cover the bowl with a plate or aluminum foil for at least 15 minutes.
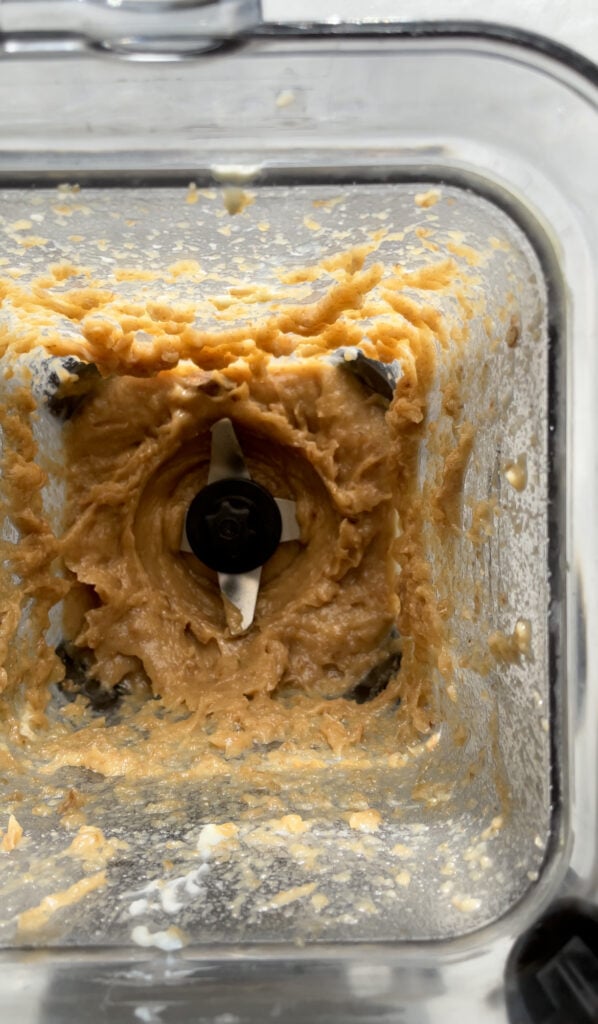
- After the time has passed, strain the dates and place them in a high speed blender or food processor with the butter. Blend until smooth.
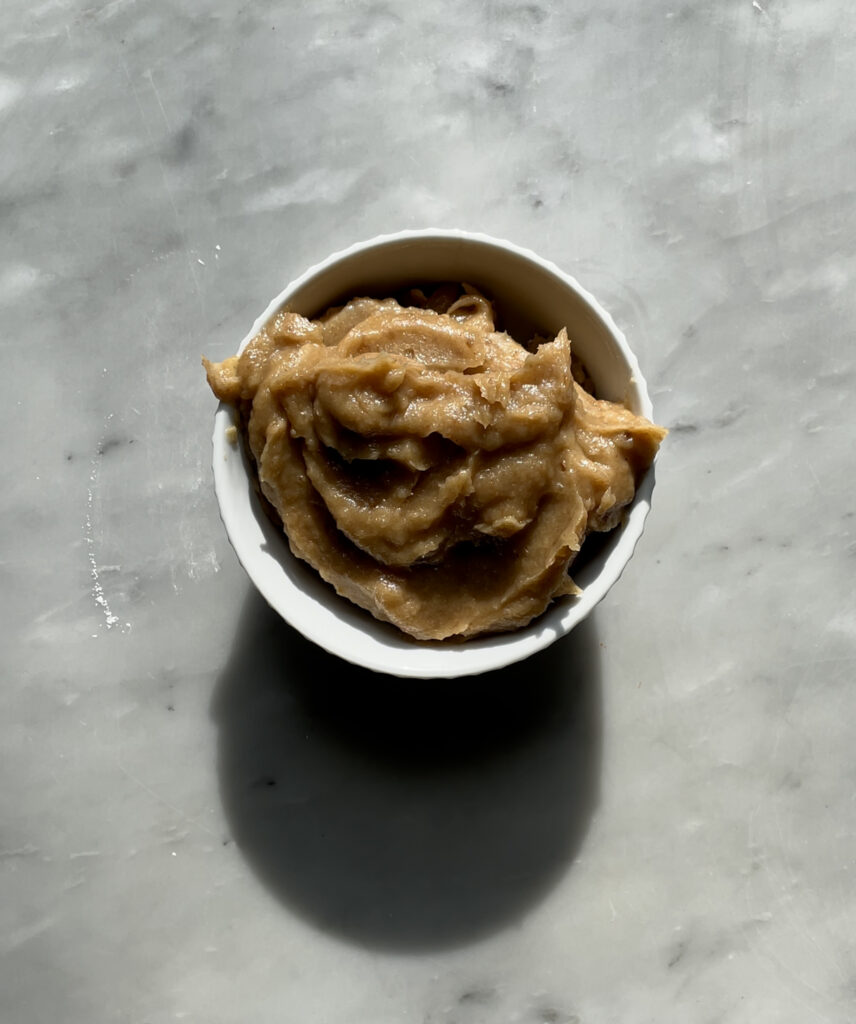
- Pour the date butter into a bowl and set aside until you are ready to assemble the buns.
Shaping the buns
- Preheat the oven to 350 F.
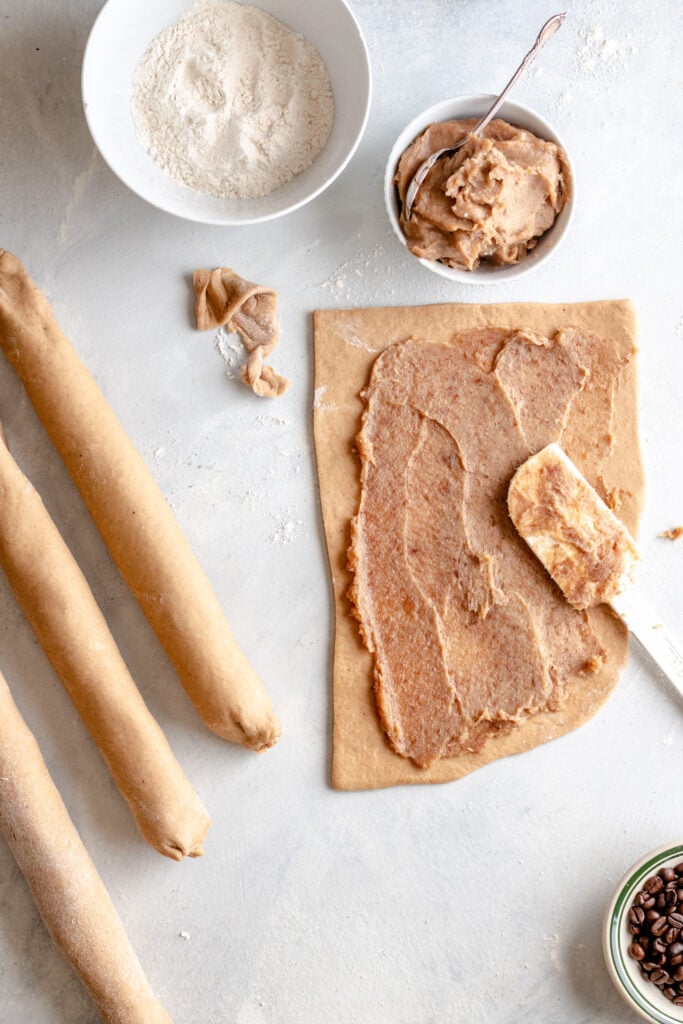
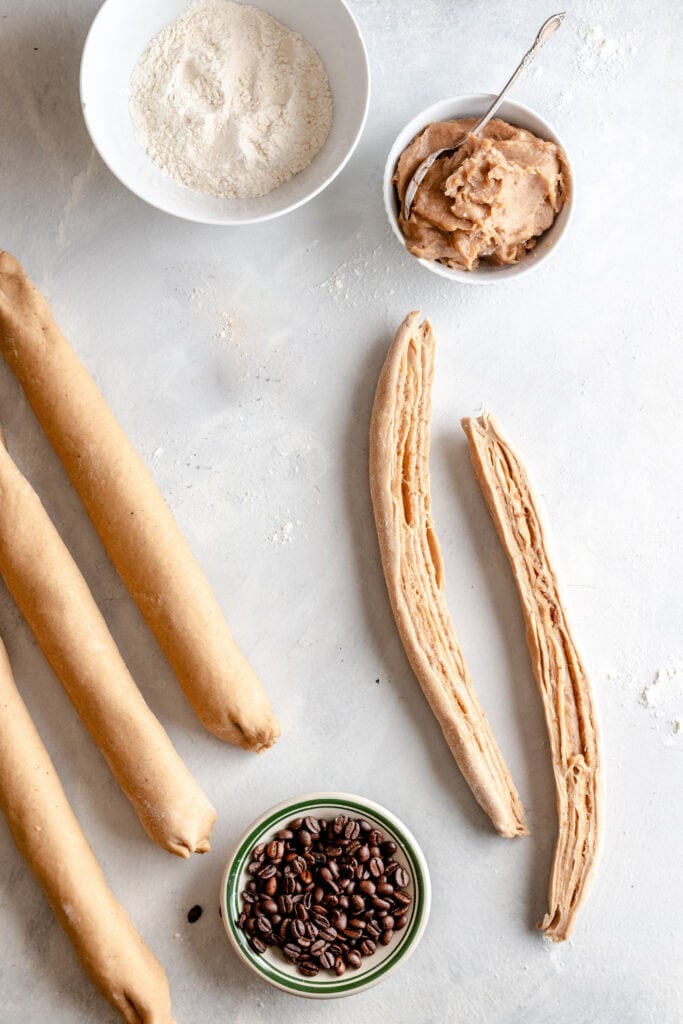
- Roll the proofed dough out on a lightly floured surface to a rectangle that is 40 cm x 60 cm. Cut the rectangle into fourths. Then spread the date butter filling over each portion of dough leaving a half inch border on all edges. Roll up each portion of dough starting at a long edge, seal the roll along the long edge and squish together the short edges to fully seal the roll.
- At this point, you should have 4 long, sealed rolls. Gently stretch each roll so that they measure 25-30 cm.
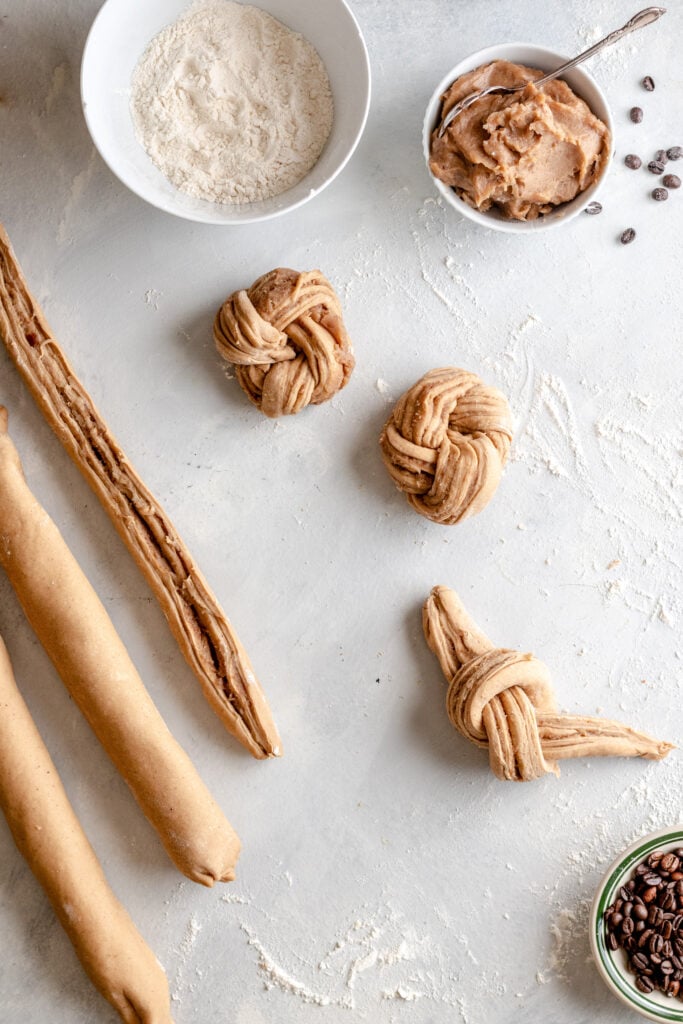
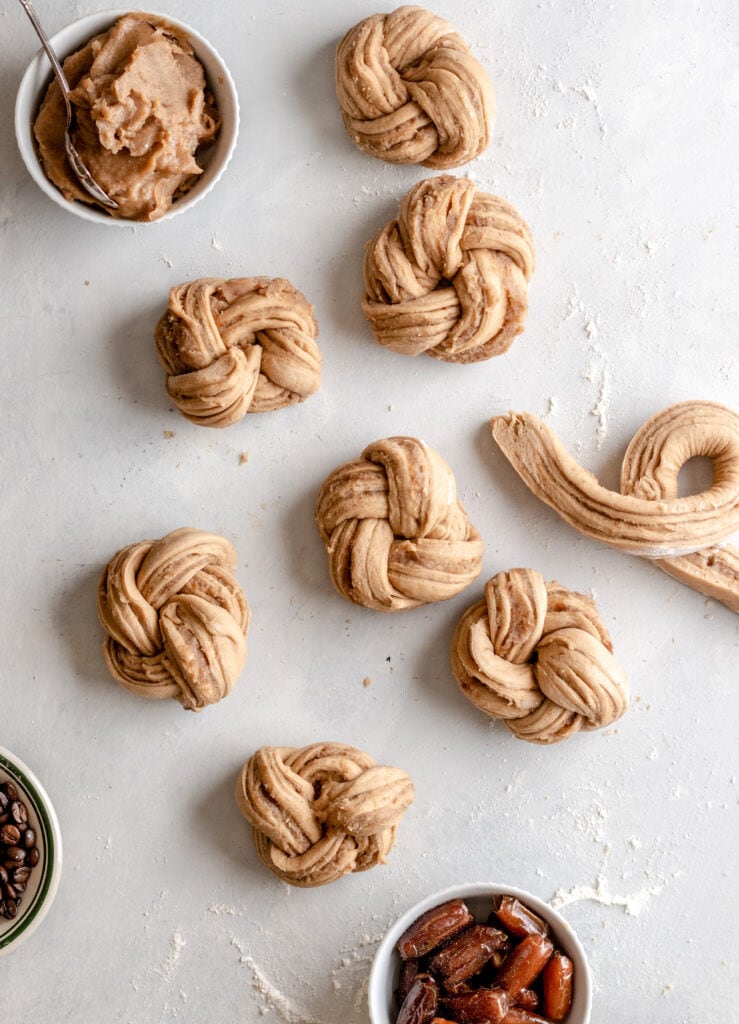
- Cut each roll in half lengthwise. Working with one half of each log at a time, tie it into a loose knot with long tails. Bring the tail that is under the knot, up and over the knot and tuck it into the center. Then tuck the tail that is on top of the knot down around the knot. Pinch the two ends together underneath the knot.
- Line two baking sheets with silicone baking mats or parchment paper. Then, place four knots on each baking sheet and leave them to proof (rise) for 20 minutes.
Baking
- Bake the two sheets of knots in the upper and lower thirds of the oven for 25 minutes until golden brown. Rotate the baking sheets and swap them after 15 minutes to ensure even browning.
- While the knots are baking, make the espresso glaze by whisking together the powdered sugar and remaining espresso or coffee.
- Once the buns are golden brown, remove the baking sheets from the oven and immediately brush or drizzle them with the espresso glaze.
- Leave the buns to cool for at least ten minutes before enjoying them.
How to Store Espresso Date Buns
These espresso date buns are best eaten the day they are made. However, they can also be stored for up to 3 or 4 days in an airtight container. Or, if you want to save them for longer, after they have cooled completely, wrap each one in plastic and then place them all in an airtight bag and put them in the freezer for up to 1 month.

Espresso Date Buns
Equipment
- Stand Mixer
- Blender or Food Processor
Ingredients
Espresso Dough
- 500 grams ap flour
- 10 grams instant yeast
- 75 grams brown sugar
- 1/2 tsp cinnamon ground
- 1/2 tsp ginger ground
- 1/4 tsp nutmeg ground
- 1/4 tsp salt
- 250 ml espresso lukewarm
- 80 grams butter melted
Date Butter Filling
- 100 grams butter softened
- 200 grams medjool dates pitted
Espresso Glaze
- 2 tbsp espresso
- 200 grams powdered sugar
Instructions
Espresso Dough
- In a large stand mixing bowl, add flour and sugar, yeast and spices, and whisk together.
- Add the melted butter, espresso, and pinch of salt to the mixing bowl. Mix together with the dough hook on low speed for 15 min or until the dough is a smooth cohesive ball of dough.
- Shape the dough into a ball and place, smooth side up, in a greased bowl. Cover the bowl with plastic wrap or proofing bag and set it somewhere warm to rest for 1 hour.
Date Butter Filling
- Place the dates in a large bowl, pour over about 4 cups of boiling water (or enough to fully cover the dates) and cover with a lid or foil. Let sit and soften for at least ten minutes.
- Strain the dates (its ok if a little water stays behind) and add them to a high speed blender or food processor with the softened butter. Blend until smooth and place the date butter in a bowl until ready to use.
Shaping and Baking the Buns
- Preheat the oven to 350 F.
- After 1 hour has passed, the dough should have doubled in size and be very soft and puffy. Roll out the dough to approximately 60 cm x 40 cm. It can be helpful to use your hands or a bench scraper to keep shaping it into a rectangle as you roll because I find yeasted dough naturally wants to be more of a circular shape. If the dough keeps shrinking back, cover it with a towel and let it rest for 5 minutes to let it relax; then try again.
- Using a sharp knife or a pizza cutter, cut the large rectangle into four equal rectangles.
- Spread the date butter (you might need to give it a quick stir if the butter separated from the dates) onto each rectangle. Leave a 1/2" border on all of the sides. This will allow you to seal up the rolls with out all of the filling coming out.
- Roll up each rectangle starting with a long side of each rectangle. Then pinch the seam shut.
- After you pinch the seam shut along the long edge, pinch together each end of the log so that both ends are sealed.
- Once all four logs are rolled and sealed, working one at a time, cut each one in half lengthwise (or hotdog style) so that each log becomes two long pieces.
- After you have cut it in half, take one half at a time and tie it into a slip knot (you may need to pull the half log a little to make it a little longer). The slip knot should have the open side of the log face up so that you can see the layers and the filling.
- Once you have tied the knot, bring the tail that is at the bottom of the knot, up and over the top and tuck it into the center of the knot. Then bring the tail that is on top of the knot over and under the knot and into the center opening. Now both tails should be in the center of the knot and you can pinch them together and tuck them under the knot.
- Line two baking sheets with parchment paper or silicone mats and place four of the knots onto each baking sheet.
- Let the knots rest for 20 min while the oven heats up.
- Bake the knots for 25 min until golden brown. If not baking on convection, rotate and switch the baking sheets halfway through the baking process.
- While the knots are baking, mix coffee or espresso and powdered sugar to make a glaze thin glaze – it should be about the consistency of maple syrup.
- Once the knots are done baking, while they are still hot and on the baking sheets, brush on the glaze. Then let them cool for at least 10 minutes before transferring to cooling racks to cool completely.


You had me at espresso! These turned out so great! I made them for the first time and even though some of my dough folding didn’t look as beautiful as the pictures, they tasted absolutely amazing! Everything from the dough to the glaze: perfect. I highly recommend this recipe!
Yay!!! Thank you so much Erika!
When I found Audrey’s blog I was so excited to find out she loves German desserts – then I went through her Instagram and found these and I knew I had to make them. These are delicious! They are soft, gooey, and the sweetness is balanced by the espresso flavour. They were a joy to make and I recommend everyone give them a try!
Thank you so much Kate! I’m so happy you enjoyed them
Loved these! They were delicious and everyone that had one liked them a lot. Not only did they taste good but they looked great with the knot tie design. I needed to use up some dates I was given so this was the perfect recipe! Thank you!
That’s so wonderful! I’m so glad you enjoyed them and thank you so much for writing this review Kate!