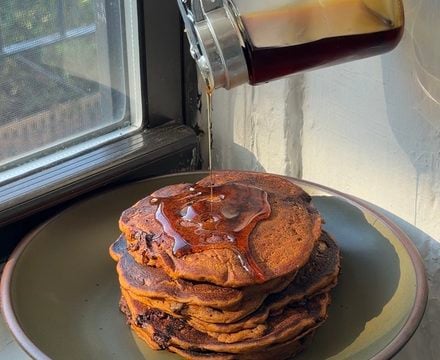
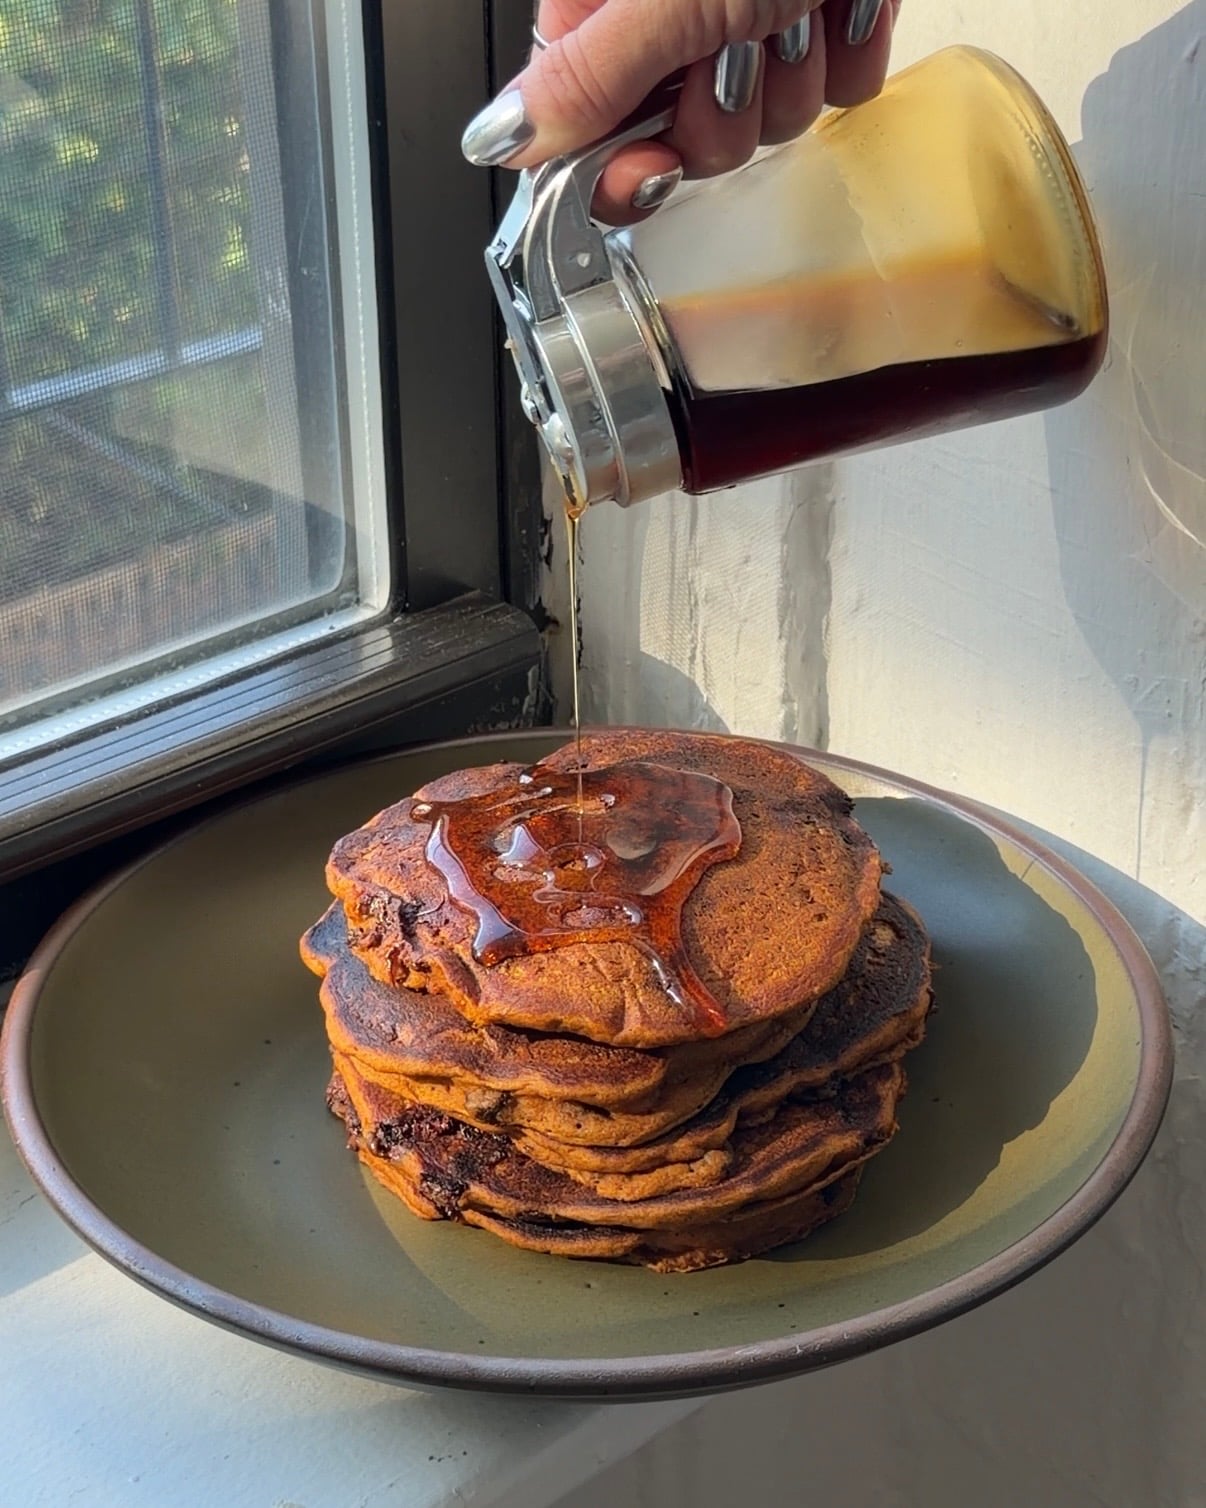
Brown butter, chocolate chip, Pumpkin Pancakes that taste just like my favorite pumpkin bread and are perfect for fall.
What can I use instead of Buttermilk?
Sometimes you want Buttermilk pancakes but don’t have buttermilk, some people use a combination of milk and lemon juice or vinegar but I find it doesn’t thicken enough. I recommend using a mixture of 1/2 greek yogurt and 1/2 milk instead to replace buttermilk.
What’s the best way to make Pumpkin Pancakes?
This recipe for Pumpkin pancakes took me much longer to develop than I anticipated but now they are one of my favorite recipes. The best way to make Pumpkin Pancakes is by first cooking down the pumpkin puree with pumpkin pie spice; this will intensify the flavor by evaporating extra water and activating the spices.
How to make fluffy pancakes?
There’s a few ways to make fluffy pancakes including whipping the egg whites separately to give them a fluffy soufflé like texture. BUT the easiest way to make fluffy pancakes is to add baking soda and buttermilk. When the baking soda and buttermilk react they cause big bubbles in the batter and lead to light and fluffy pancakes.
Tips for making Pumpkin Pancakes
- Be sure to use pure pumpkin puree and not pumpkin pie filling.
- Cooking the pumpkin puree might seem insignificant and annoying but it’s a 5 minute process that makes a huge difference.
- If you don’t have buttermilk, I recommend using a mixture of 1/2 greek yogurt and 1/2 milk instead to replace buttermilk.
- Make sure to really BROWN the butter. It should first melt, then be loud and popping. Then it’ll quiet down and foam – at this point you want to stir it and scrape the bottom of the pan. It will foam again and this time brown bits should rise to the top. At this point your butter is brown but not before!
- If you want to make more pancakes, simply double or triple the recipe.
- I like to fold the chocolate chips into the batter to prevent them from burning in on the pan but you can also leave them out or sprinkle them on top of each pancake.
- I like using a non stick pan, ideally a griddle pan because I like my pancakes soft and not crispy. If you like a crispy pancake (which I’ll never understand) but if you do, put some butter in the pan once it has heated up.
- Keep the heat under the pan low if using gas heat or medium low on electric. The pancake needs to essentially bake on the pan and set up before you flip it. If the heat is too high the pancake will burn and the batter will go flying when you flip the pancake.
- Keep a warm plate in the microwave and add each cooked pancake to the plate to keep them warm while cooking the next ones.
- If you want to prep part of the pancakes in advance, you can whisk the dry ingredients together the night before and store in an airtight container.
Additional Recipes to try:
Ingredients
- Pumpkin Puree: Be sure to buy pure pumpkin puree and not pumpkin pie filling.
- Pumpkin Pie Spice: I like to buy already mixed pumpkin pie spice but you can mix your own if you prefer.
- All Purpose Flour: This recipe uses all purpose flour, I haven’t tested any other flours with this recipe. I recommend King Arthur Baking All Purpose flour!
- Dark Brown Sugar: Dark Brown sugar gives the pumpkin pancakes that deep caramel pumpkin bread flavor but light brown sugar can work too!
- Fine Sea Salt: A little fine sea salt enhances the flavors and balances out the sweetness.
- Baking Soda: Baking soda is key in buttermilk pancakes because it’s what reacts with the buttermilk to create the bubbles. Make sure your baking soda hasn’t expired.
- Baking Powder: Baking powder is classic in any pancake recipe to assist with the fluffy rise.
- Butter: Salted butter is great for this recipe but unsalted works too!
- Egg: I use standard large eggs. It’s helpful if they’re somewhat at room temperature but if not just run it under warm water in a bowl for a couple minutes and you’ll be good.
- Buttermilk: Personally I think these are best with whole milk buttermilk but replacing it with a mixture of greek yogurt and milk will work too!
- Chocolate Chips: Usually I’m a 60% chocolate chip girl but with these I find that semisweet chocolate chips are best.
How to make Pumpkin Pancakes
Pumpkin Puree
- Add the pumpkin puree and pumpkin pie spice into a medium pot. Place over medium low heat, stirring regularly with a rubber spatula.
- Once steaming, continue to cook and stir for 5-6 minutes until it begins to leave a film on the bottom of the pot.
- As long as it isn’t burning you can cook it for up to 8 minutes, it should almost start to ball up when stirred. Be sure not to leave it unattended for too long as it can burn if not stirred.
- Once cooked, remove the pot from the heat and allow set it aside to cool off. It doesn’t need to be cold just no longer hot.
Brown Butter
- In a medium pot add in the butter and turn the heat onto medium low. We are browning the butter. First it will melt, then be loud and popping.
- Then it’ll quiet down and foam – at this point you want to stir it and scrape the bottom of the pan. It will foam again and this time brown bits should rise to the top. At this point your butter is brown but not before!
- Remove the pot from the heat and set aside on the counter.
Batter
- In a medium mixing bowl, add in the brown sugar, egg, salt, and vanilla. Whisk to combine.
- Then add in the pumpkin puree, buttermilk, and brown butter; whisk again.
- Sprinkle the top of the wet ingredients with the flour and then the baking soda and baking powder.
- Whisk until just mixed and then fold in the chocolate chips.
- Place your non stick skillet over low heat (if gas, medium low if electric), and let it heat slowly.
Cook the Pancakes
- If not using a non stick skillet, add a teaspoon of butter to the pan and let it melt. Swirl it around so that it covers the pan.
- Use a 1/2 cup ladle or measuring cup to scoop the pancake batter. Gently pour it onto the hot (but not too hot) pan. Then add another scoop right on top. I like to use the back of the scoop or ladle to gently spread the pancake batter out in a circular motion to encourage the spread.
- The pancake batter should be bubbling and the edges should start to look dry. Use a spatula to check underneath the pancake, it should be a deep golden brown.
- Once it’s ready to flip, quickly and confidently slide the spatula under the center of the pancake and flip.
- Cook for a couple more minutes until the bottom of the pancake has also become the golden brown color.
- Once cooked, slide the pancake onto a plate. Keep it warm in the microwave or in the oven at 200 F while you cook the rest.
- If the pancake is getting too dark before the edges have set at all, turn the heat down. If the pancake isn’t browning you can turn the heat up a little but be careful because once the pan is hot it’s hard to cool it off. Better to go low and slow.

Pumpkin Pancakes
Ingredients
Pumpkin Batter
- 250 grams pumpkin puree
- 4 teaspoons pumpkin pie spice
- 50 grams salted butter
- 40 grams dark brown sugar
- 1/4 teaspoon fine sea salt
- 1 teaspoon vanilla extract
- 1 egg large
- 150 grams whole milk buttermilk
- 100 grams all purpose flour
- 1 teaspoon baking soda
- 1 teaspoon baking powder
- 125 grams semi-sweet chocolate chips
Instructions
Pumpkin Puree
- Add the pumpkin puree and pumpkin pie spice into a medium pot. Place over medium low heat, stirring regularly with a rubber spatula.
- Once steaming, continue to cook and stir for 5-6 minutes until it begins to leave a film on the bottom of the pot.
- As long as it isn’t burning you can cook it for up to 8 minutes, it should almost start to ball up when stirred. Be sure not to leave it unattended for too long as it can burn if not stirred.
- Once cooked, remove the pot from the heat and allow set it aside to cool off. It doesn’t need to be cold just no longer hot.
Brown Butter
- In a medium pot add in the butter and turn the heat onto medium low. We are browning the butter. First it will melt, then be loud and popping.
- Then it’ll quiet down and foam – at this point you want to stir it and scrape the bottom of the pan. It will foam again and this time brown bits should rise to the top. At this point your butter is brown but not before!
- Remove the pot from the heat and set aside on the counter.
Batter
- In a medium mixing bowl, add in the brown sugar, egg, salt, and vanilla. Whisk to combine.
- Then add in the pumpkin puree, buttermilk, and brown butter; whisk again.
- Sprinkle the top of the wet ingredients with the flour and then the baking soda and baking powder.
- Whisk until just mixed and then fold in the chocolate chips.
- Place your non stick skillet over low heat (if gas, medium low if electric), and let it heat slowly.
Cook the Pancakes
- If not using a non stick skillet, add a teaspoon of butter to the pan and let it melt. Swirl it around so that it covers the pan.
- Use a 1/2 cup ladle or measuring cup to scoop the pancake batter. Gently pour it onto the hot (but not too hot) pan. Then add another scoop right on top.
- I like to use the back of the scoop or ladle to gently spread the pancake batter out in a circular motion to encourage the spread.
- The pancake batter should be bubbling and the edges should start to look dry. Use a spatula to check underneath the pancake, it should be a deep golden brown.
- Once it’s ready to flip, quickly and confidently slide the spatula under the center of the pancake and flip.
- Cook for a couple more minutes until the bottom of the pancake has also become the golden brown color.
- Once cooked, slide the pancake onto a plate. Keep it warm in the microwave or in the oven at 200 F while you cook the rest.
- If the pancake is getting too dark before the edges have set at all, turn the heat down. If the pancake isn’t browning you can turn the heat up a little but be careful because once the pan is hot it’s hard to cool it off. Better to go low and slow.
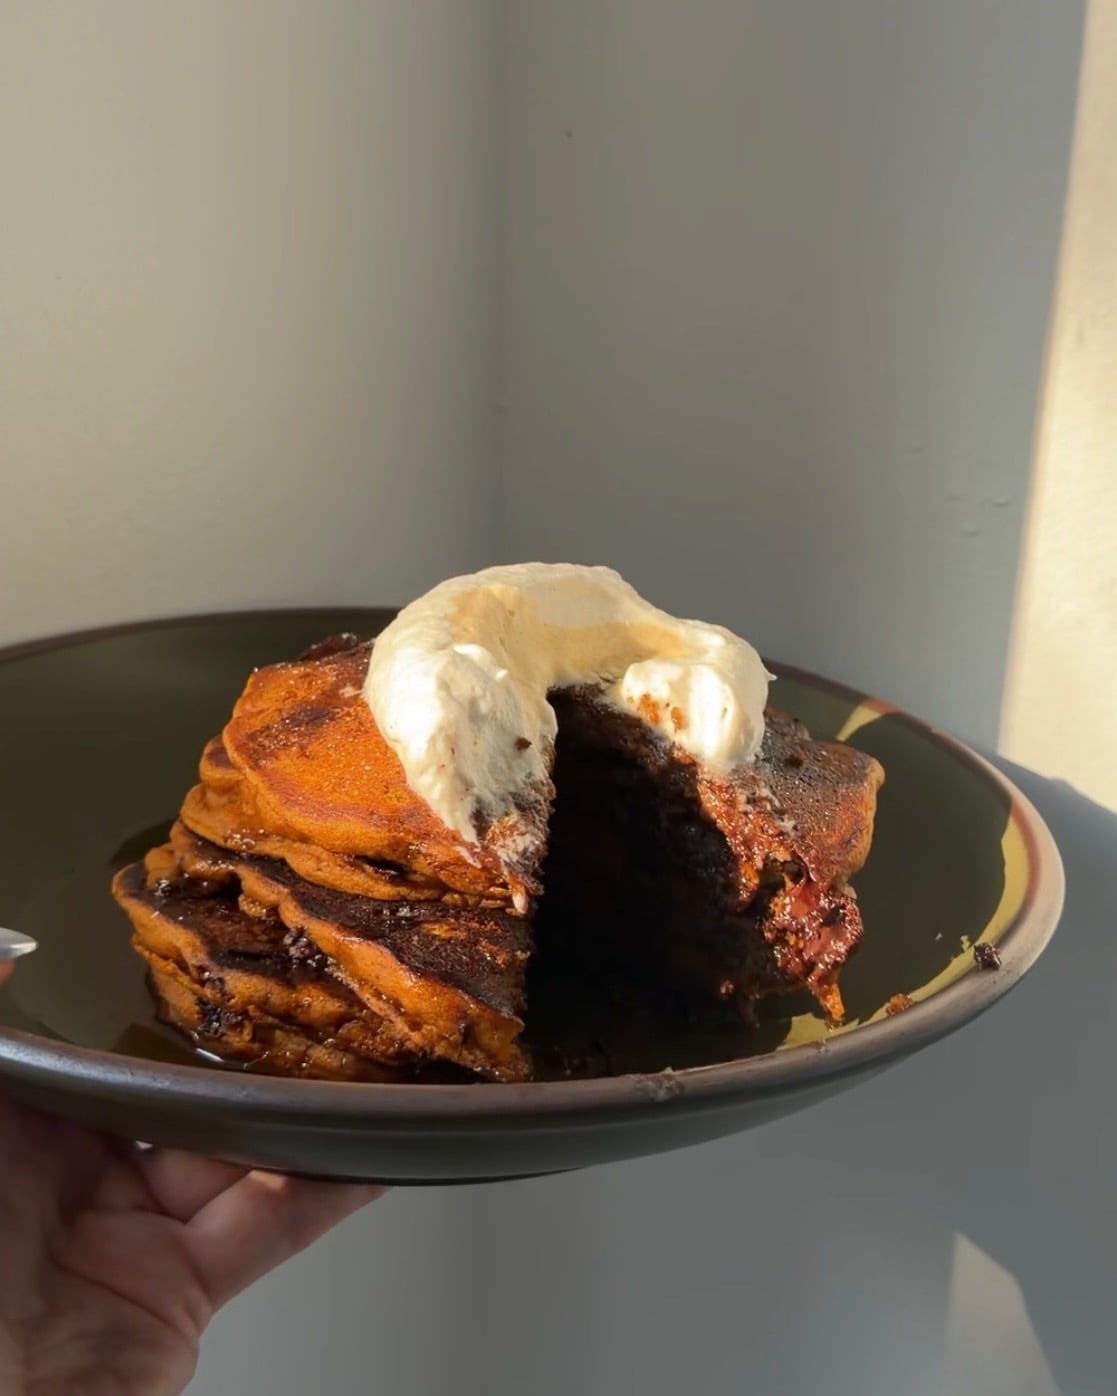
- Top with your favorites but I recommend maple syrup and a little whipped cream but salted butter is always delicious.
Notes
- Be sure to use pure pumpkin puree and not pumpkin pie filling.
- Cooking the pumpkin puree might seem insignificant and annoying but it’s a 5 minute process that makes a huge difference.
- If you don’t have buttermilk, I recommend using a mixture of 1/2 greek yogurt and 1/2 milk instead to replace buttermilk.
- Make sure to really BROWN the butter. It should first melt, then be loud and popping. Then it’ll quiet down and foam – at this point you want to stir it and scrape the bottom of the pan. It will foam again and this time brown bits should rise to the top. At this point your butter is brown but not before!
- If you want to make more pancakes, simply double or triple the recipe.
- I like to fold the chocolate chips into the batter to prevent them from burning in on the pan but you can also leave them out or sprinkle them on top of each pancake.
- I like using a non stick pan, ideally a griddle pan because I like my pancakes soft and not crispy. If you like a crispy pancake (which I’ll never understand) but if you do, put some butter in the pan once it has heated up.
- Keep the heat under the pan low if using gas heat or medium low on electric. The pancake needs to essentially bake on the pan and set up before you flip it. If the heat is too high the pancake will burn and the batter will go flying when you flip the pancake.
- Keep a warm plate in the microwave and add each cooked pancake to the plate to keep them warm while cooking the next ones.
- If you want to prep part of the pancakes in advance, you can whisk the dry ingredients together the night before and store in an airtight container.
This page may contain affiliate links. This means that if you click on one of the product links above and complete a purchase, I’ll receive a small commission at no extra cost to you. I will never place a link nor make a recommendation on a product or service that I don’t love or use personally. Read our privacy policy here. Thank you for supporting Red Currant Bakery.